Tips for Taking Awesome Food Photos Using Your Smartphone
Last updated on May 5th, 2025 at 10:01 pm
Did you finally start that food Instagram account that you’ve been contemplating for weeks? Are you looking to up your food photography game? Are you looking to do that without spending a fortune on a fancy DSLR camera and editing software? Below I share my simple tips and tricks for getting high quality, beautiful food photos with your smartphone.
I use all of these tips every day over on my Instagram, which I have been running for almost seven years now. If you scroll through my feed, it is easy to see the stark changes in the quality of my food photographs. I’m not going to lie, it was rough there for a while! However, I have learned a lot about food photography in the past few years and want to share with you the knowledge I have gained.
As a quick disclaimer, I am by no means an expert and still have a lot to learn myself. However, I remember starting out and being so lost as to where to begin. A lot of articles, videos and tutorials I found were way over my head with the technical terms and were meant specifically for people with DSLR cameras and expensive editing software. I want to provide easy tips for beginners that anyone with a smartphone can use.
Lighting
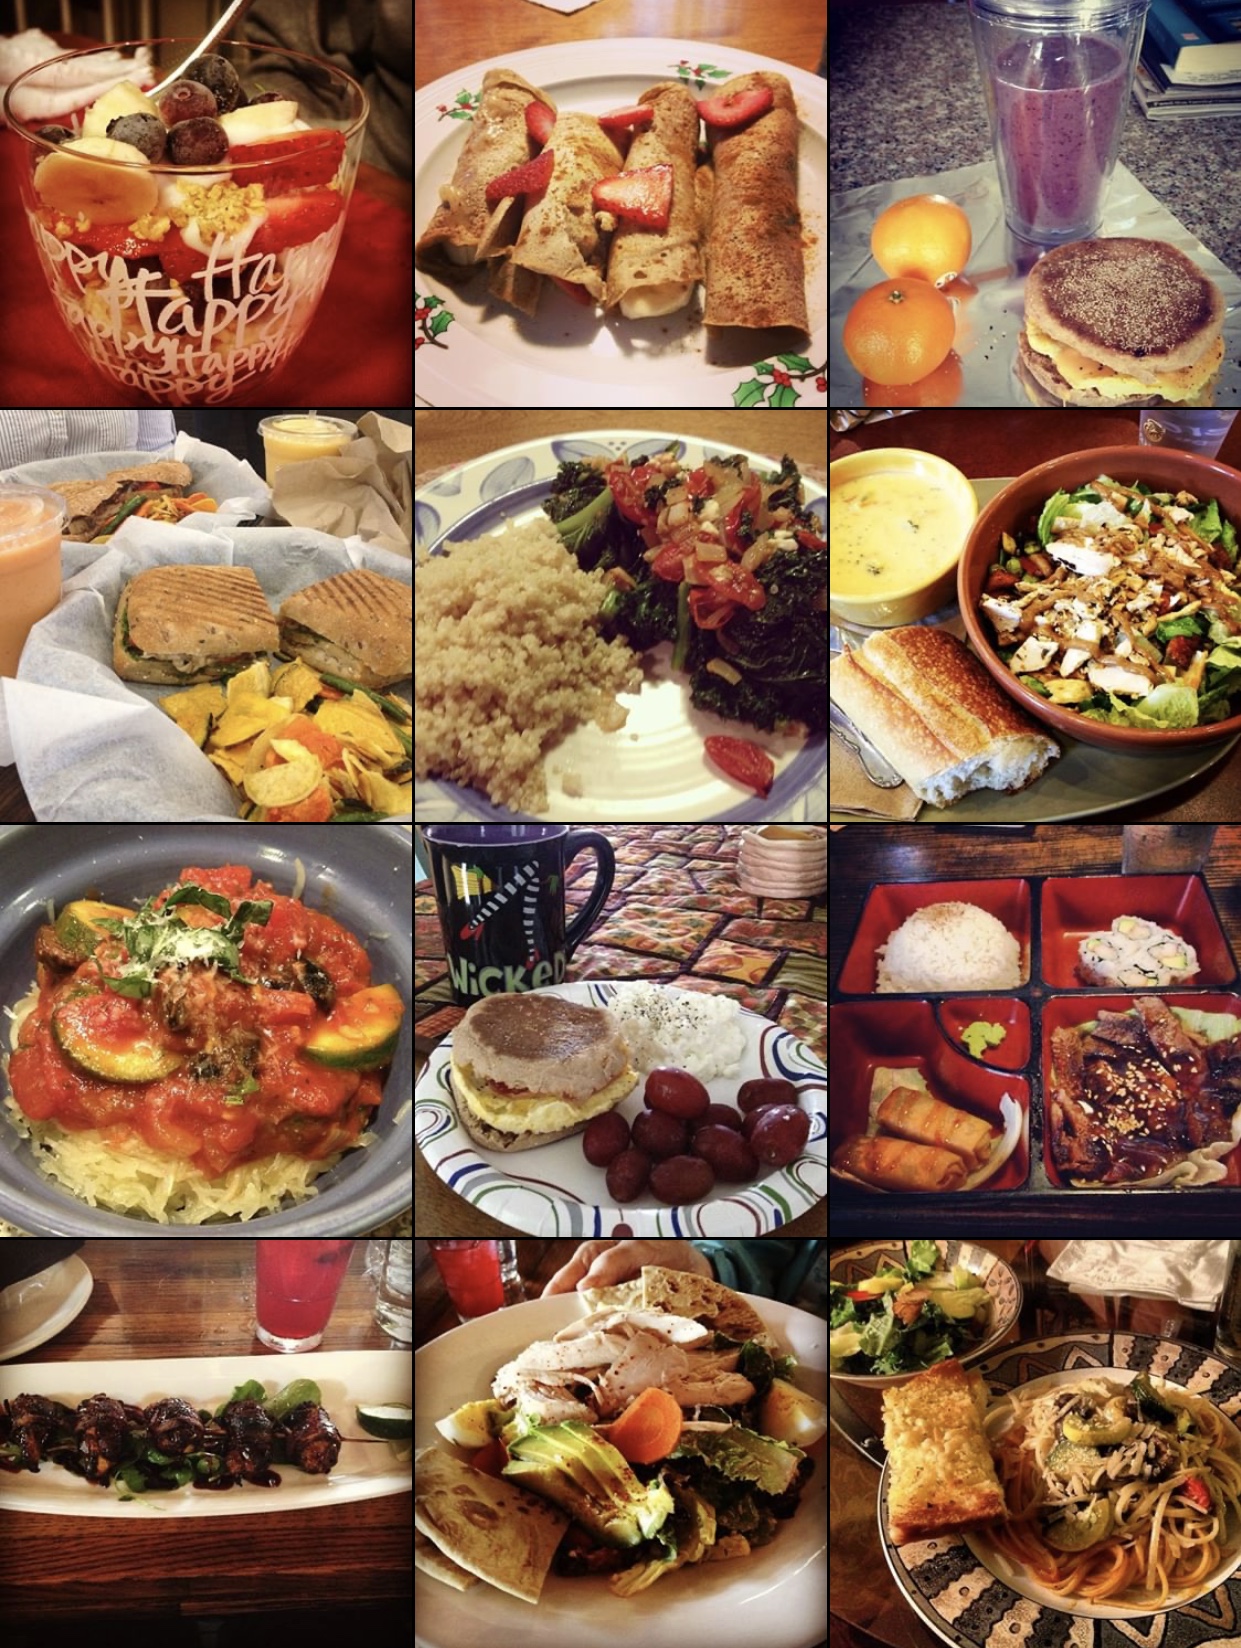
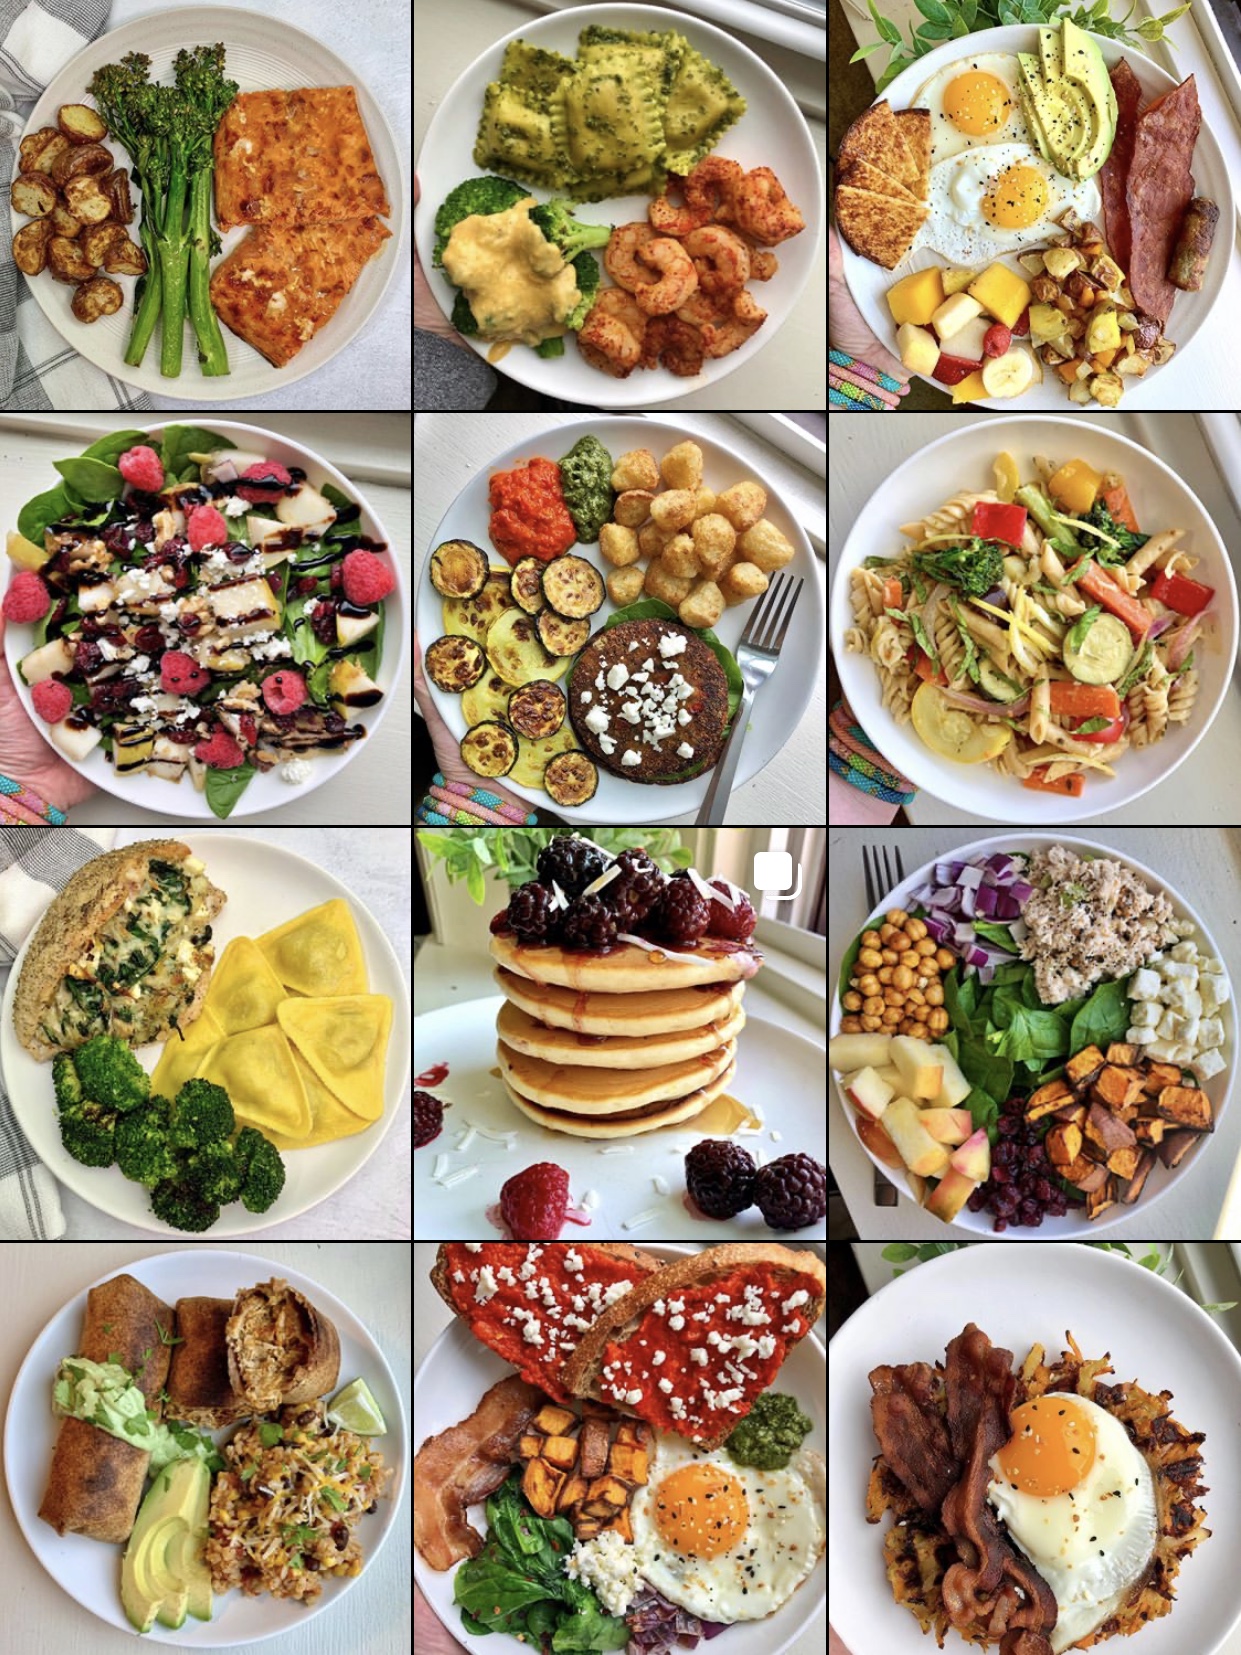
I am sure every single article ever written about photography mentions lighting. It is probably the first tip on every list but that is because it truly is SO important! The word photography quite literally comes from the Greek word for ‘light’. When it comes to food photography, proper lighting allows the natural colors and textures of the food to pop. Proper lighting is one of the best ways to entice a viewer to think ‘yum, that looks delicious. I want that!’ For example, when you looked at the feeds above, which set of pictures looked more enticing to you? My guess is you picked the feed with the better lighting (let’s be honest, you can’t even tell what the food is in half of the pictures from the first feed). Here are my tips for nailing your lighting:
Tips for taking natural light photos:
- Photograph in natural light, whenever possible. It should be no surprise that natural light will create the most natural looking photos.
- The best place to take food photos is by a window but try to avoid direct sunlight. It can cause overexposure and harsh shadows, which can make it difficult to edit later.
- Cloudy days are a food photographer’s best friend! Overcast skies create evenly distributed light with no harsh shadows. Take advantage of these days!

Unedited picture taken in direct sunlight vs an unedited picture taken near the window but out of direct sunlight.
Tips for Taking Artificial Light Photos:
Most photographers will praise natural light, and with good reason, but they also poopoo artificial light. Unfortunately, we all don’t have the luxury to always shoot in natural light. Therefore, I think it is smart to learn about artificial light and practice shooting with it.
- The best form of artificial light is a very bright but diffused light source that illuminates the subject from the side, front or back.
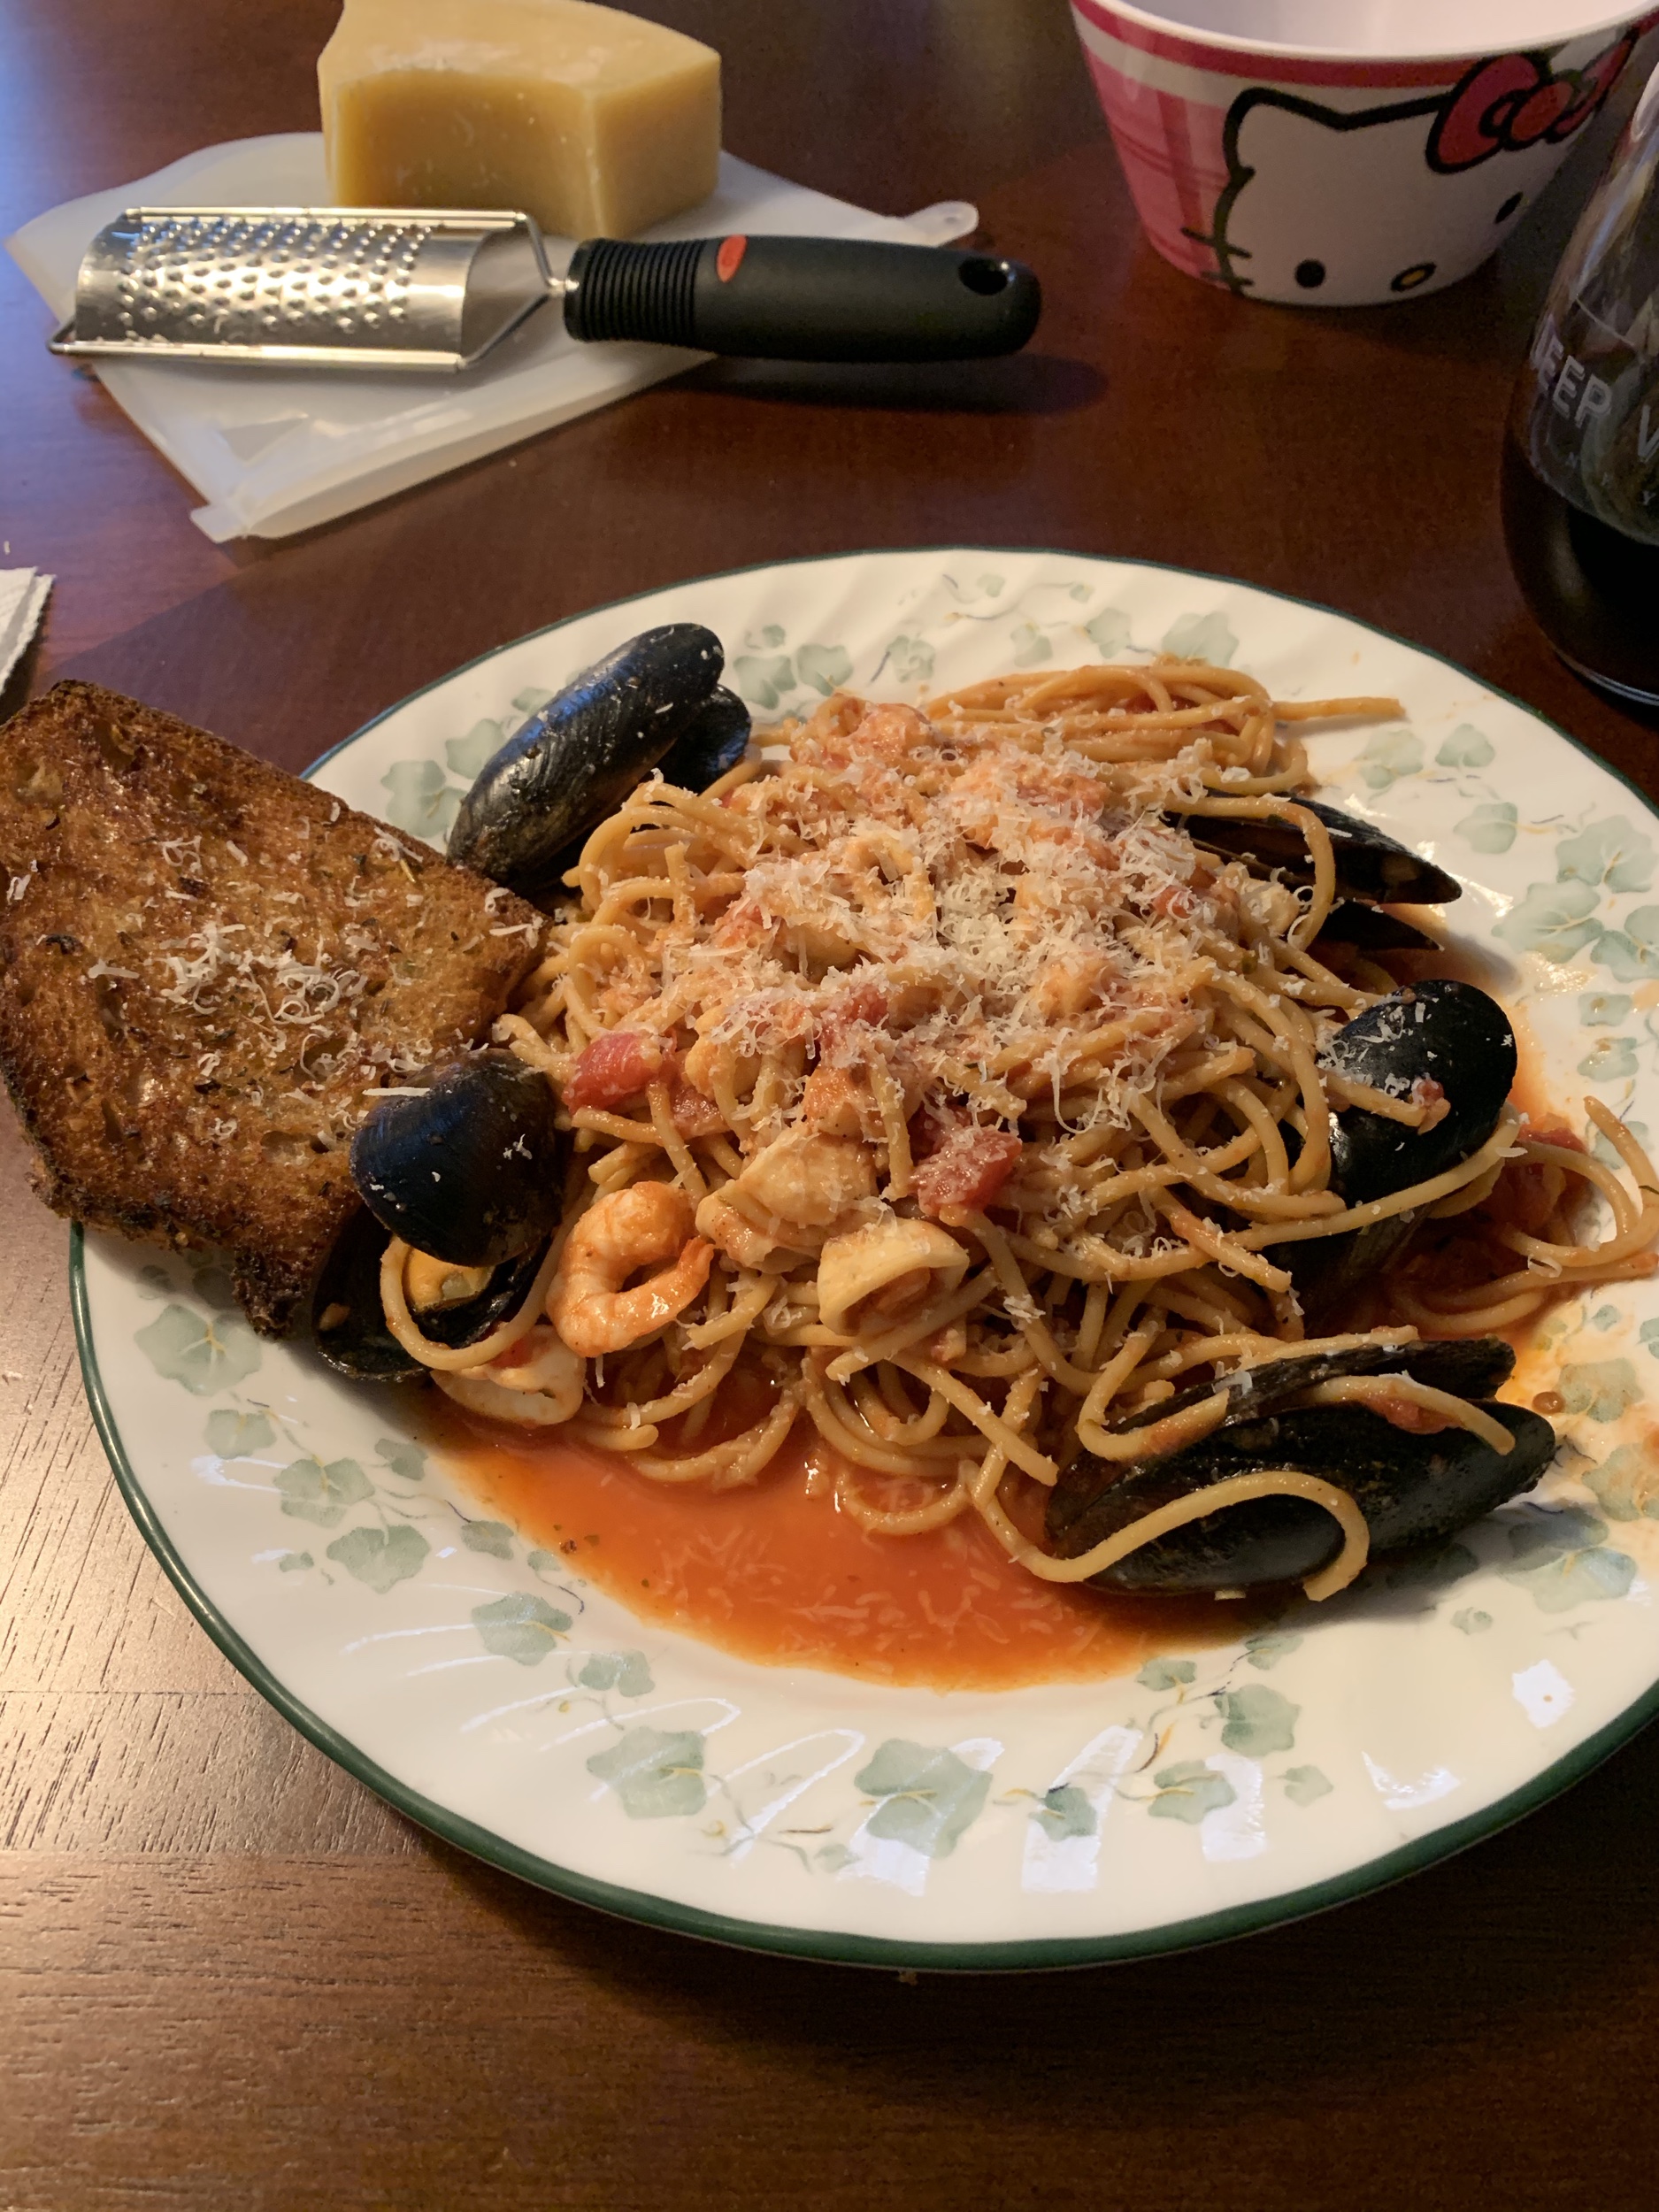
- Do NOT use your kitchen lights, or any other overhead lighting in your house. If you are photographing an overhead shot, you will cast a shadow on your subject. This type of light will also create an orangey tint to your photos; not appealing!
Artificial Lighting Options:
- If you have a bright LED lamp, you can remove the lamp shade and use a white sheet to diffuse the light.
- You can also opt to create a DIY soft light. There are many tutorials online on how to go about this, like this one!
- If you are looking to grow your Instagram or plan to start a YouTube channel or blog in the future, it might be a good idea to invest in professional lighting equipment, such as soft box lights. These lights can range anywhere from $55 to $130.
- Another option is a handheld portable light. These range in price from $40 to $120. Handheld lights are convenient for travel and for small spaces. Most handheld lights do not come with a diffuser, so you will need to diffuse the light in some way, such as with a piece of thin fabric or translucent paper.
- You can also purchase a reflector. A reflector is placed opposite of the light source to reflect light back onto the subject. These range in price from $20 to $50. A cheaper alternative is to use a piece of white foam board instead.
Regardless of which type of light you are using, it is important to allow your camera time to adjust to the light. As an experiment, open the camera on your phone and cover the lens with your hand. Take your hand away. After a few seconds, move it closer to a light source. You can see the camera adjusting to the light. Each time you move your camera, give it a moment before you snap your pic.
Dishes
Using the right dish one of the best ways to showcase your food and to make your photos cohesive.
- Use small bowls and salad plates. This way you fill up the bowl or plate with food without needing a huge portion size. This helps reduce the negative space on the plate.
- A dish with a matte finish won’t reflect as much light and will reduce glare in photos.
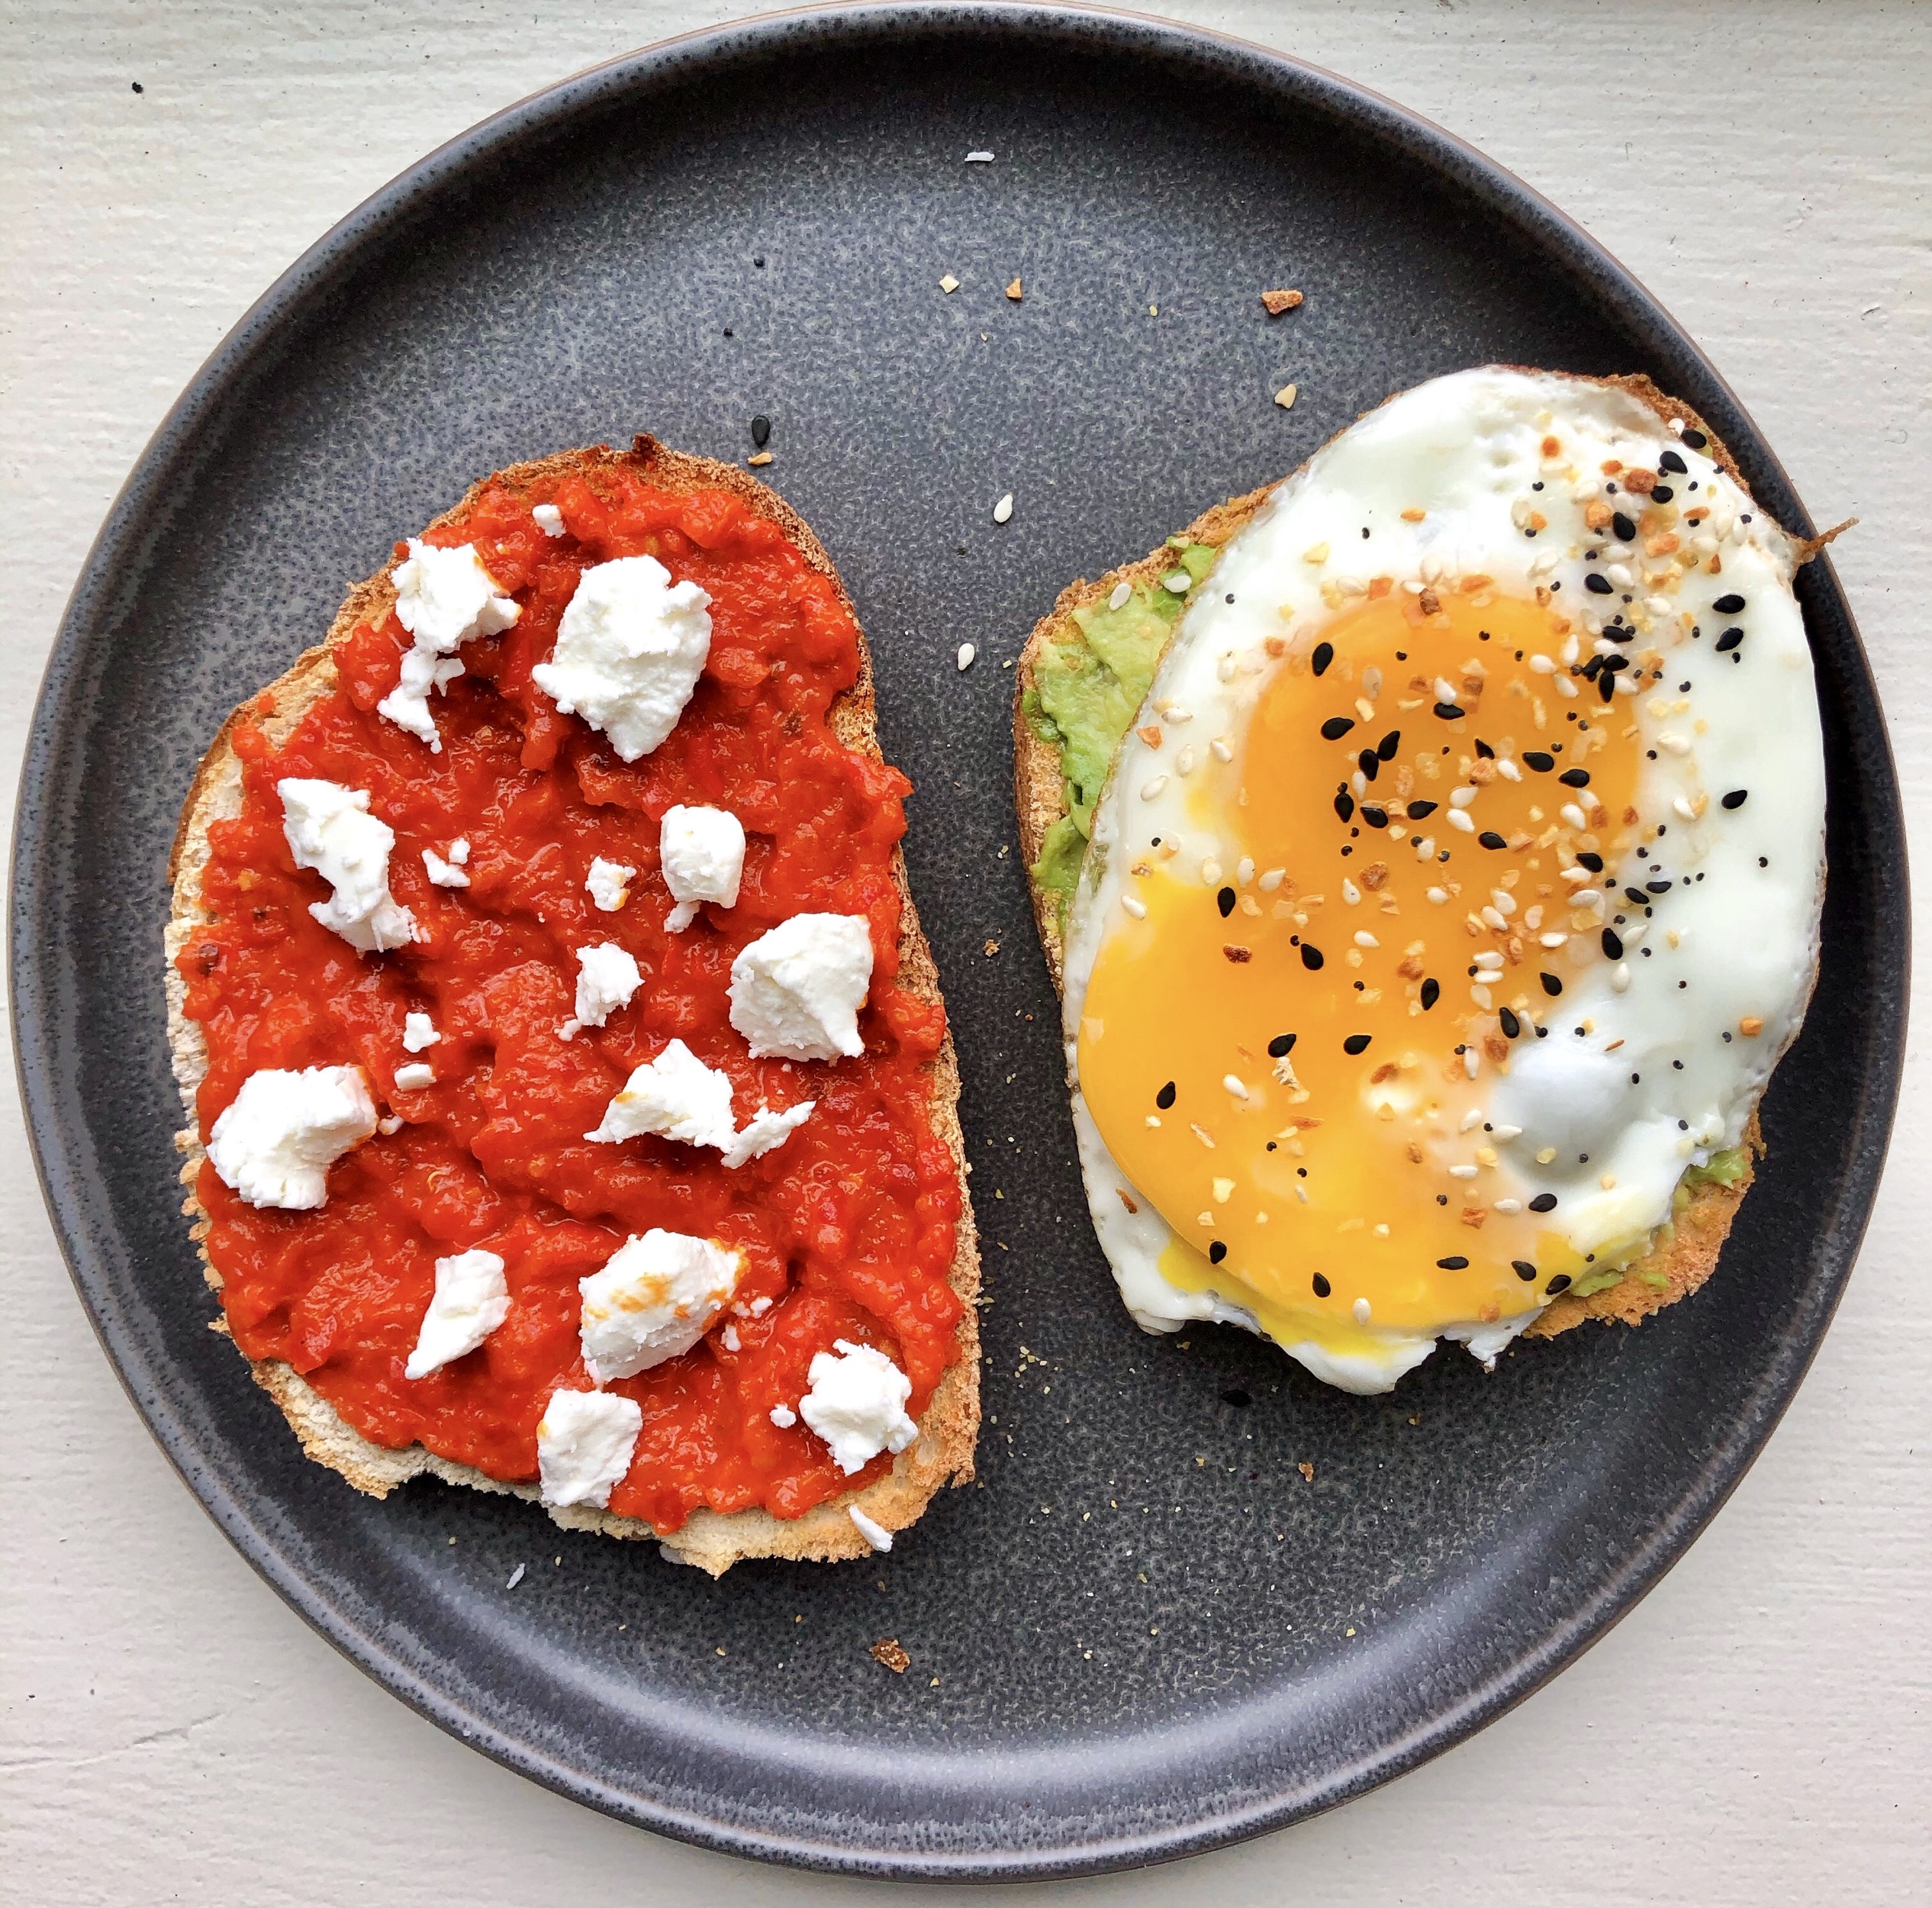
- Use neutral colored dishes such as white, off white and gray. Neutral shades allow the colors of the food to “pop” more.
- Use a variety of plates. My favorite places to shop for dishes are Target, Walmart, Home Goods, West Elm, and Crate and Barrel.
- Brightly colored plates may take away focus from the food. The color blue is said to be an appetite suppressant, which is not something you want to portray in your food photos!
- Plates with texture or speckles add just enough interest to the photo without overshadowing the food.
- Some entrees look better when photographed in the pan they were cooked in, like casseroles and bakes. So snap a few photos of the dish still in the pan and then a few once plated. That way you can choose which one you like best.
Dinner plate vs salad plate
Background
The background is essentially anything else in the frame besides the subject. The background should work as an element that enhances focus on the subject, which is the food.
- Use a simple, neutral and clean background that is clear of clutter. A busy and cluttered background can distract from the main subject.
- Great options for backgrounds:
- Stone Slab such as marble, quartz, etc: these can be purchased at home improvement stores, Etsy, Amazon, etc.
- Cutting board
- Slate
- Look alike surfaces: these range widely in price and can be purchased online
- Foam board: Can be purchased at a craft store
- Poster board: Can be purchased at a craft store
- If you are shooting with your subject straight ahead, pay attention to what is in the background. It is best to shoot in front of a neutral-colored wall or backdrop. If there are items in the background, ensure they are placed there purposefully.
Staging
Staging a photo is essentially the set up where food, dishes, props, etc. are purposefully placed in order to create composition and tell a story.
- Have a vision for your picture prior to starting. This way you can plan your dishes, background and plating so everything is cohesive.
- Think about the angle you will shoot your photo from. There are three primary options:
-
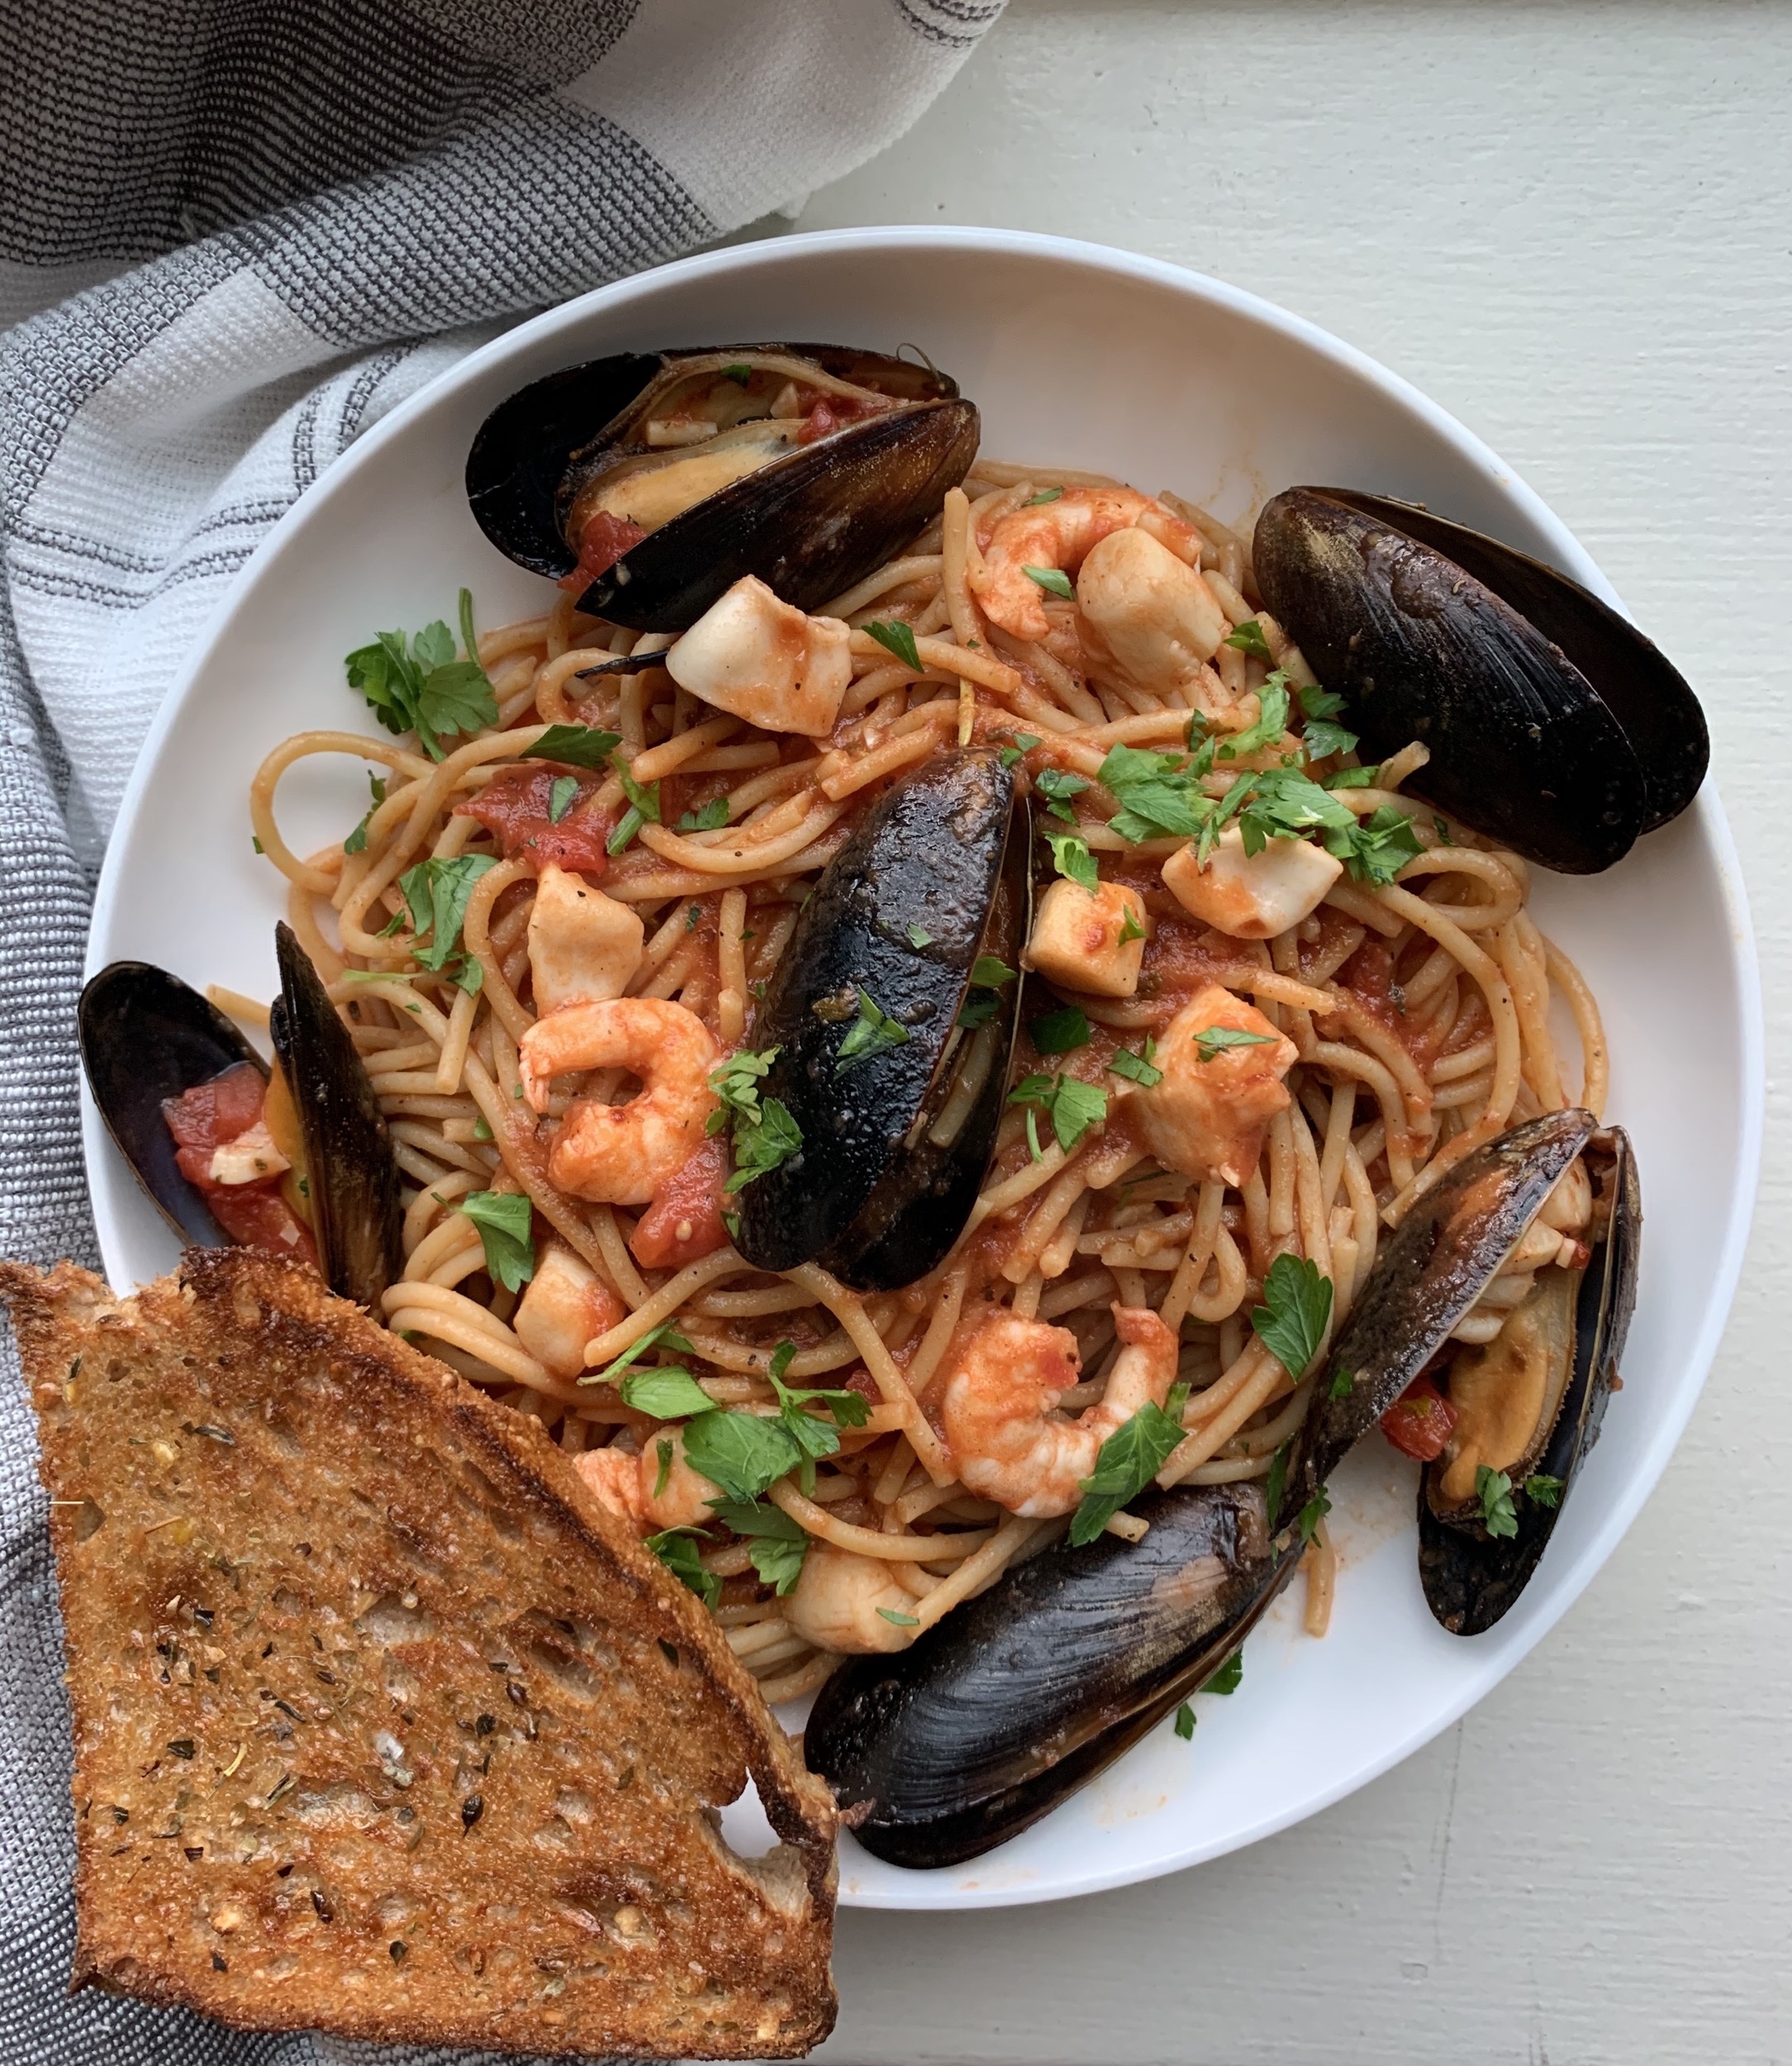
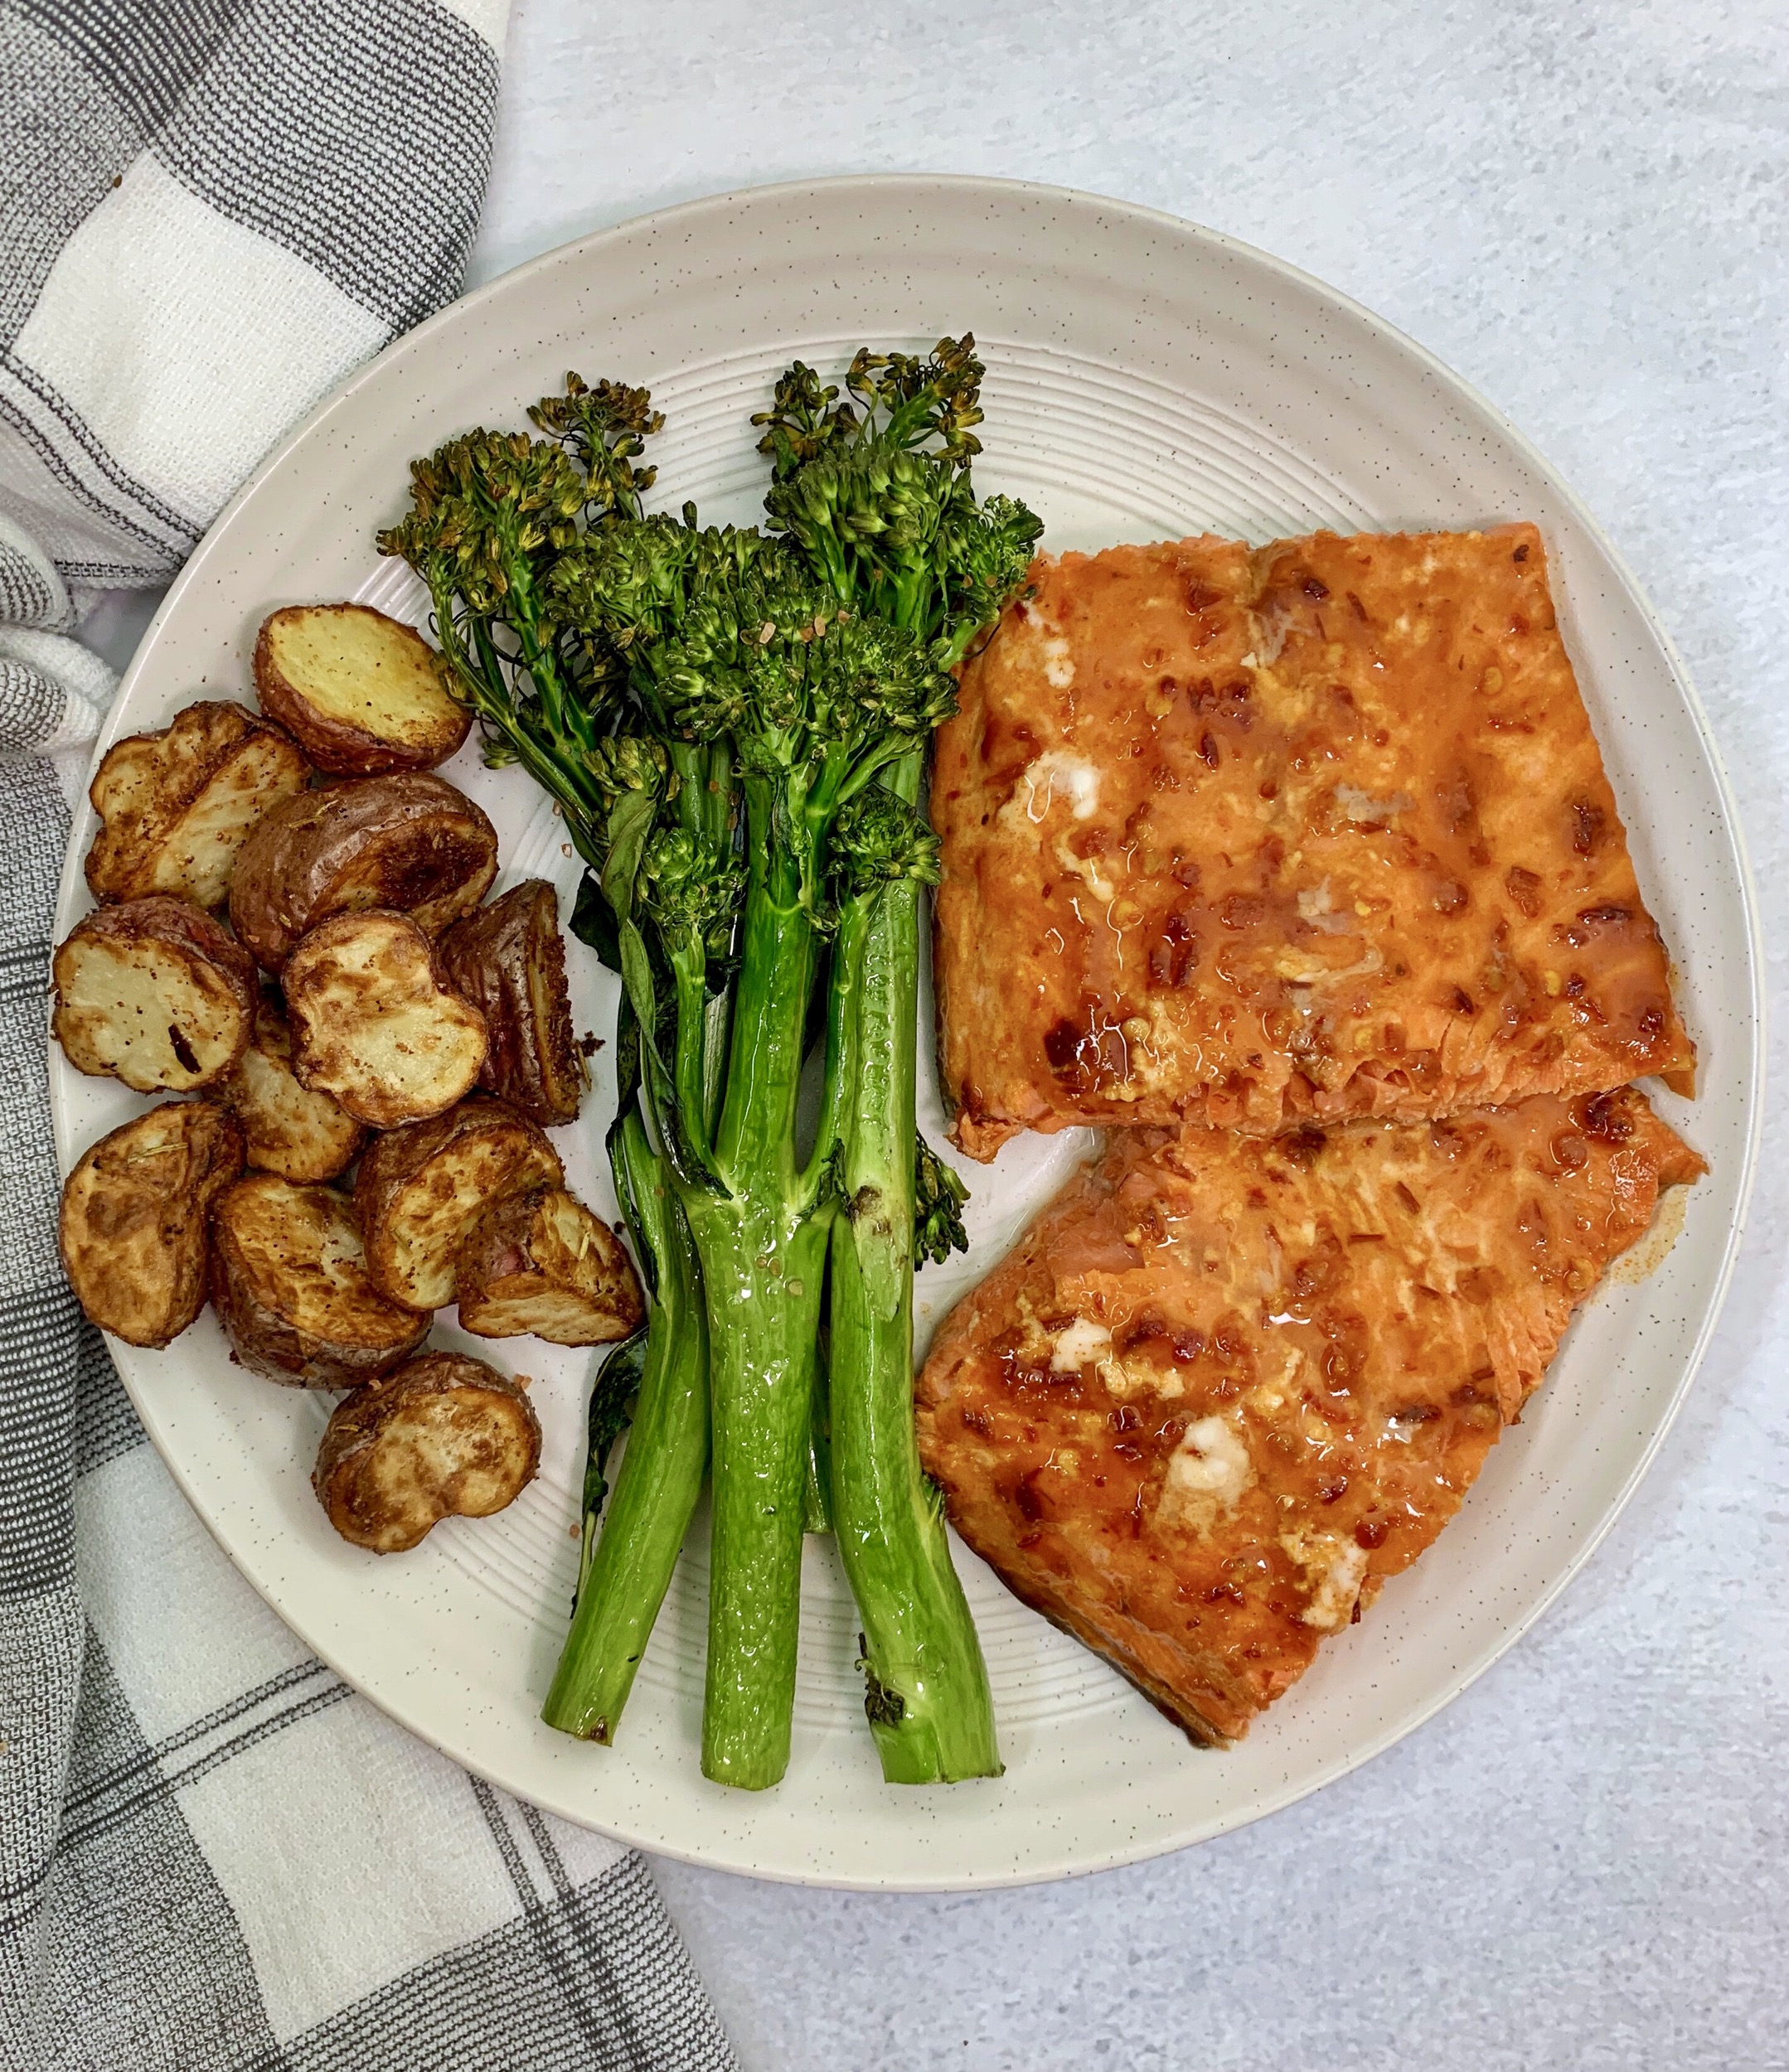
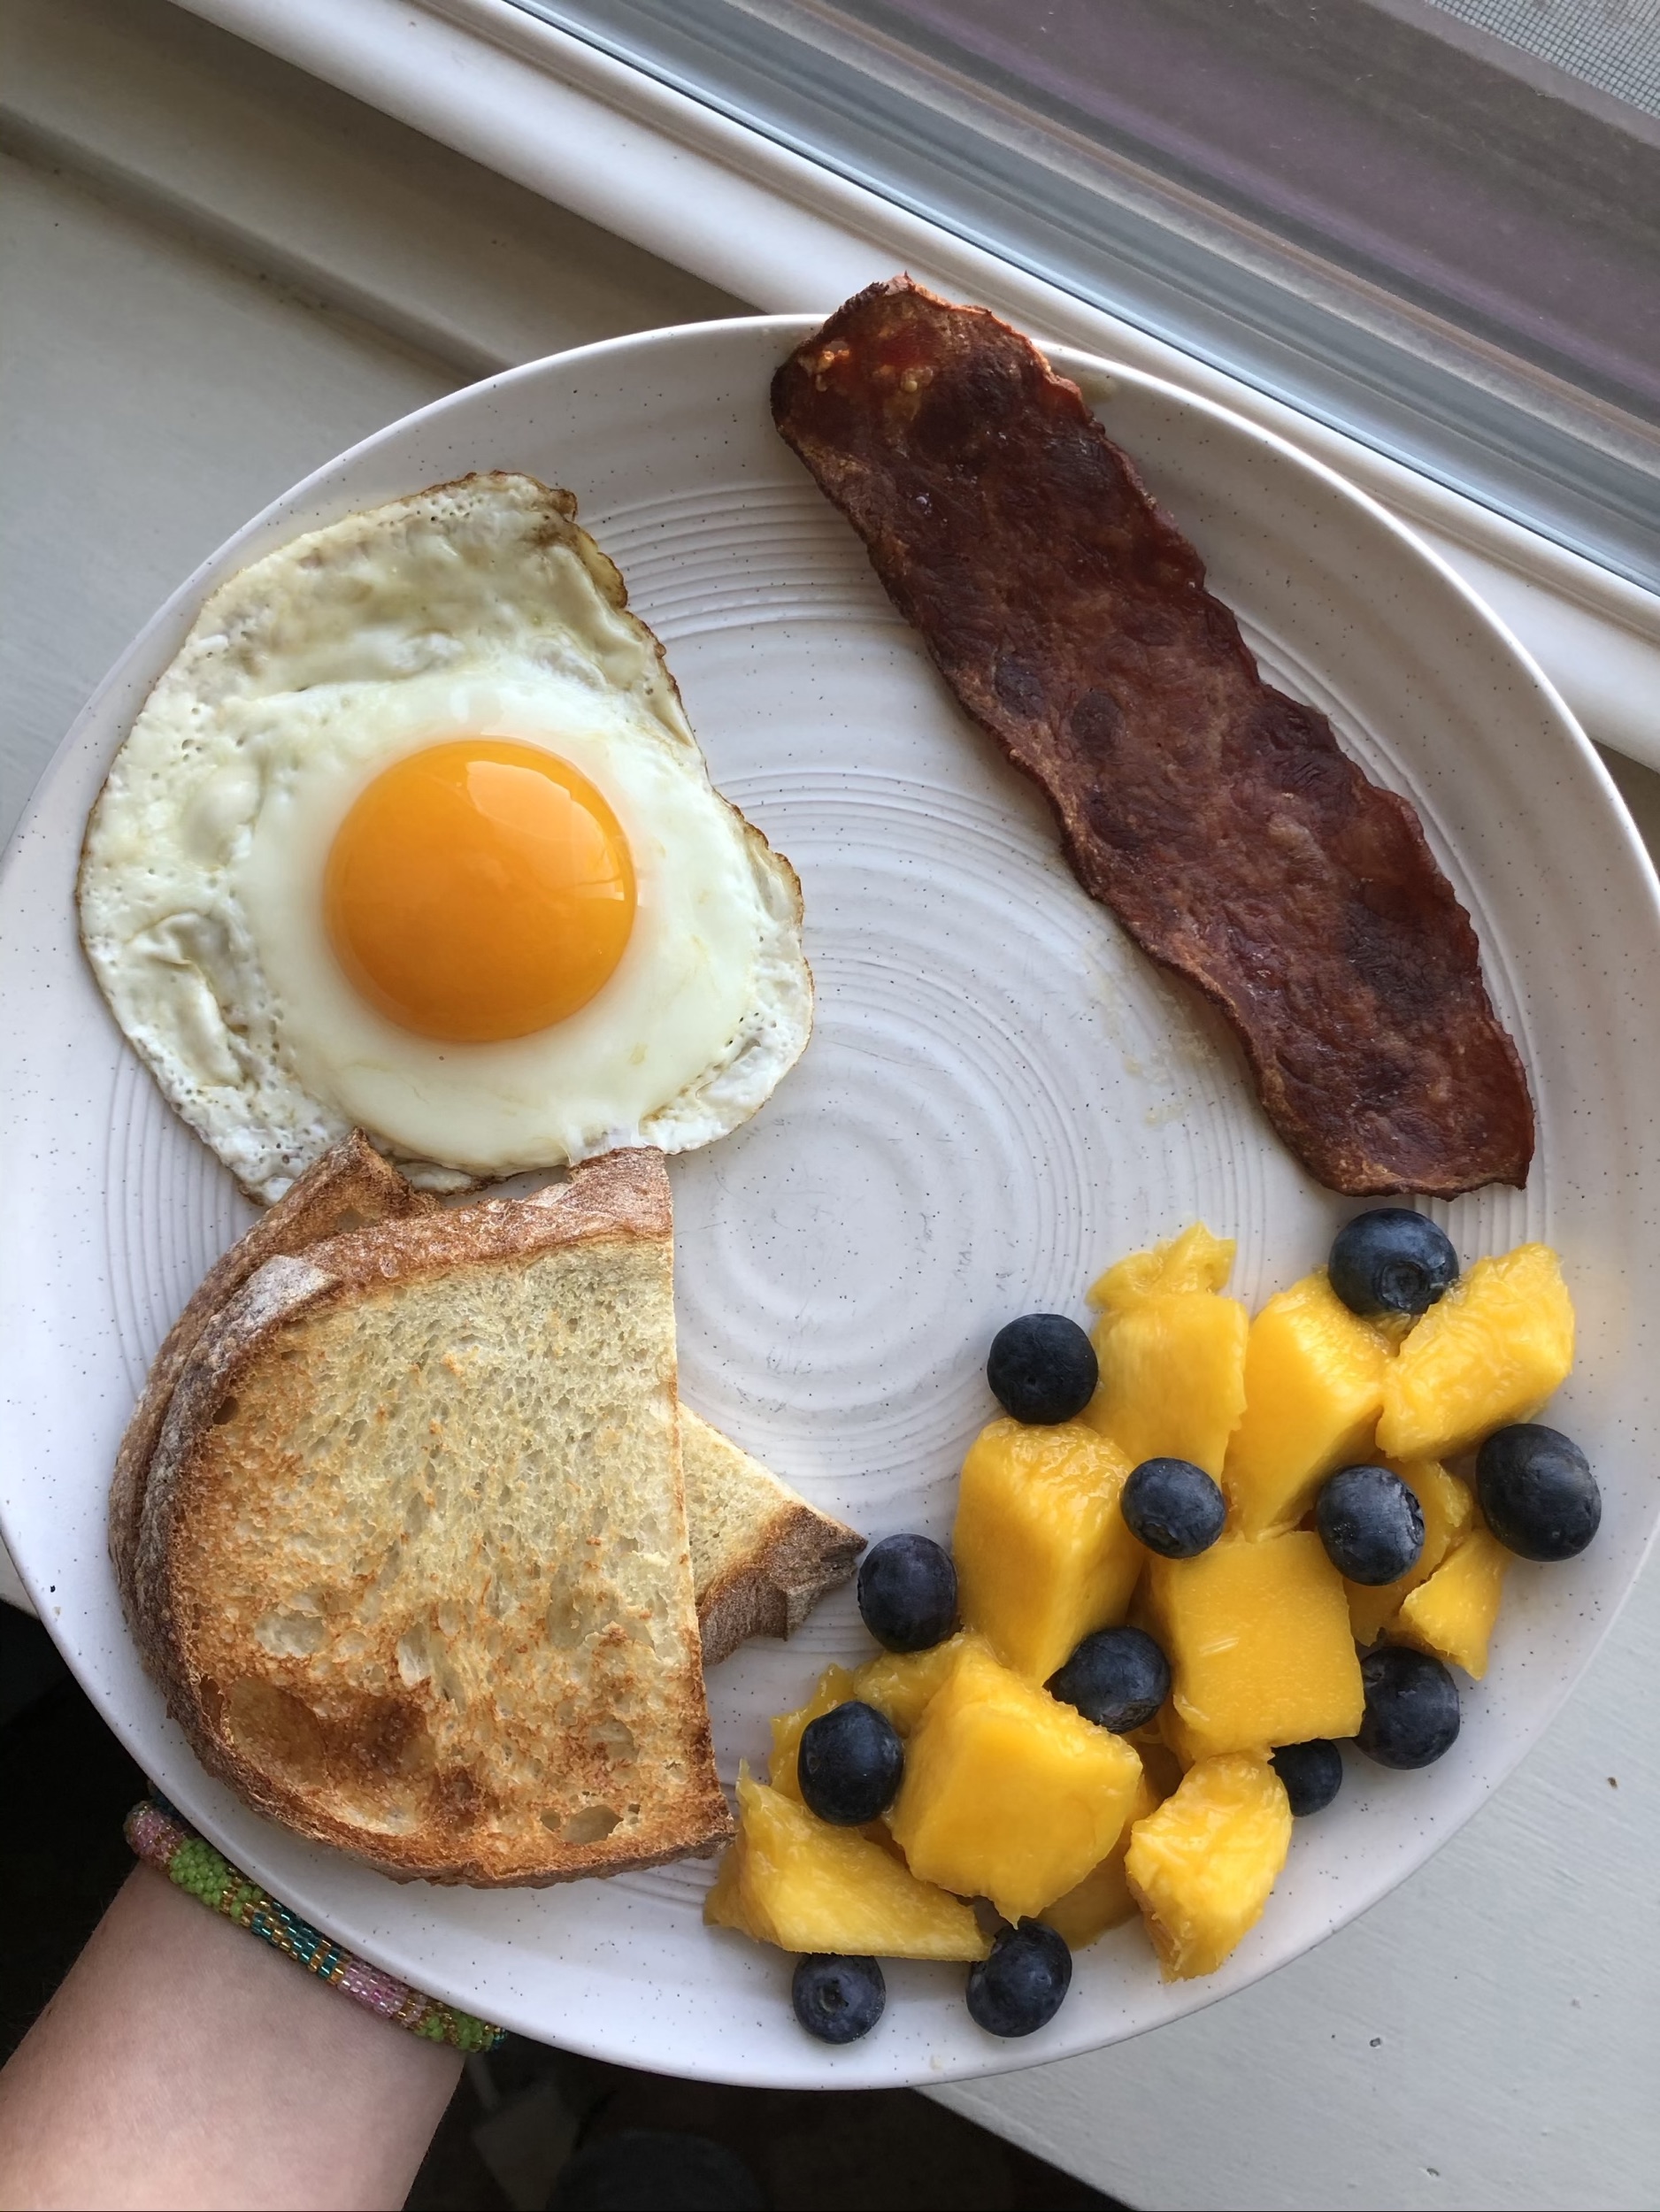
- Directly above: A popular option to capture the entire dish or spread, like a cheeseboard
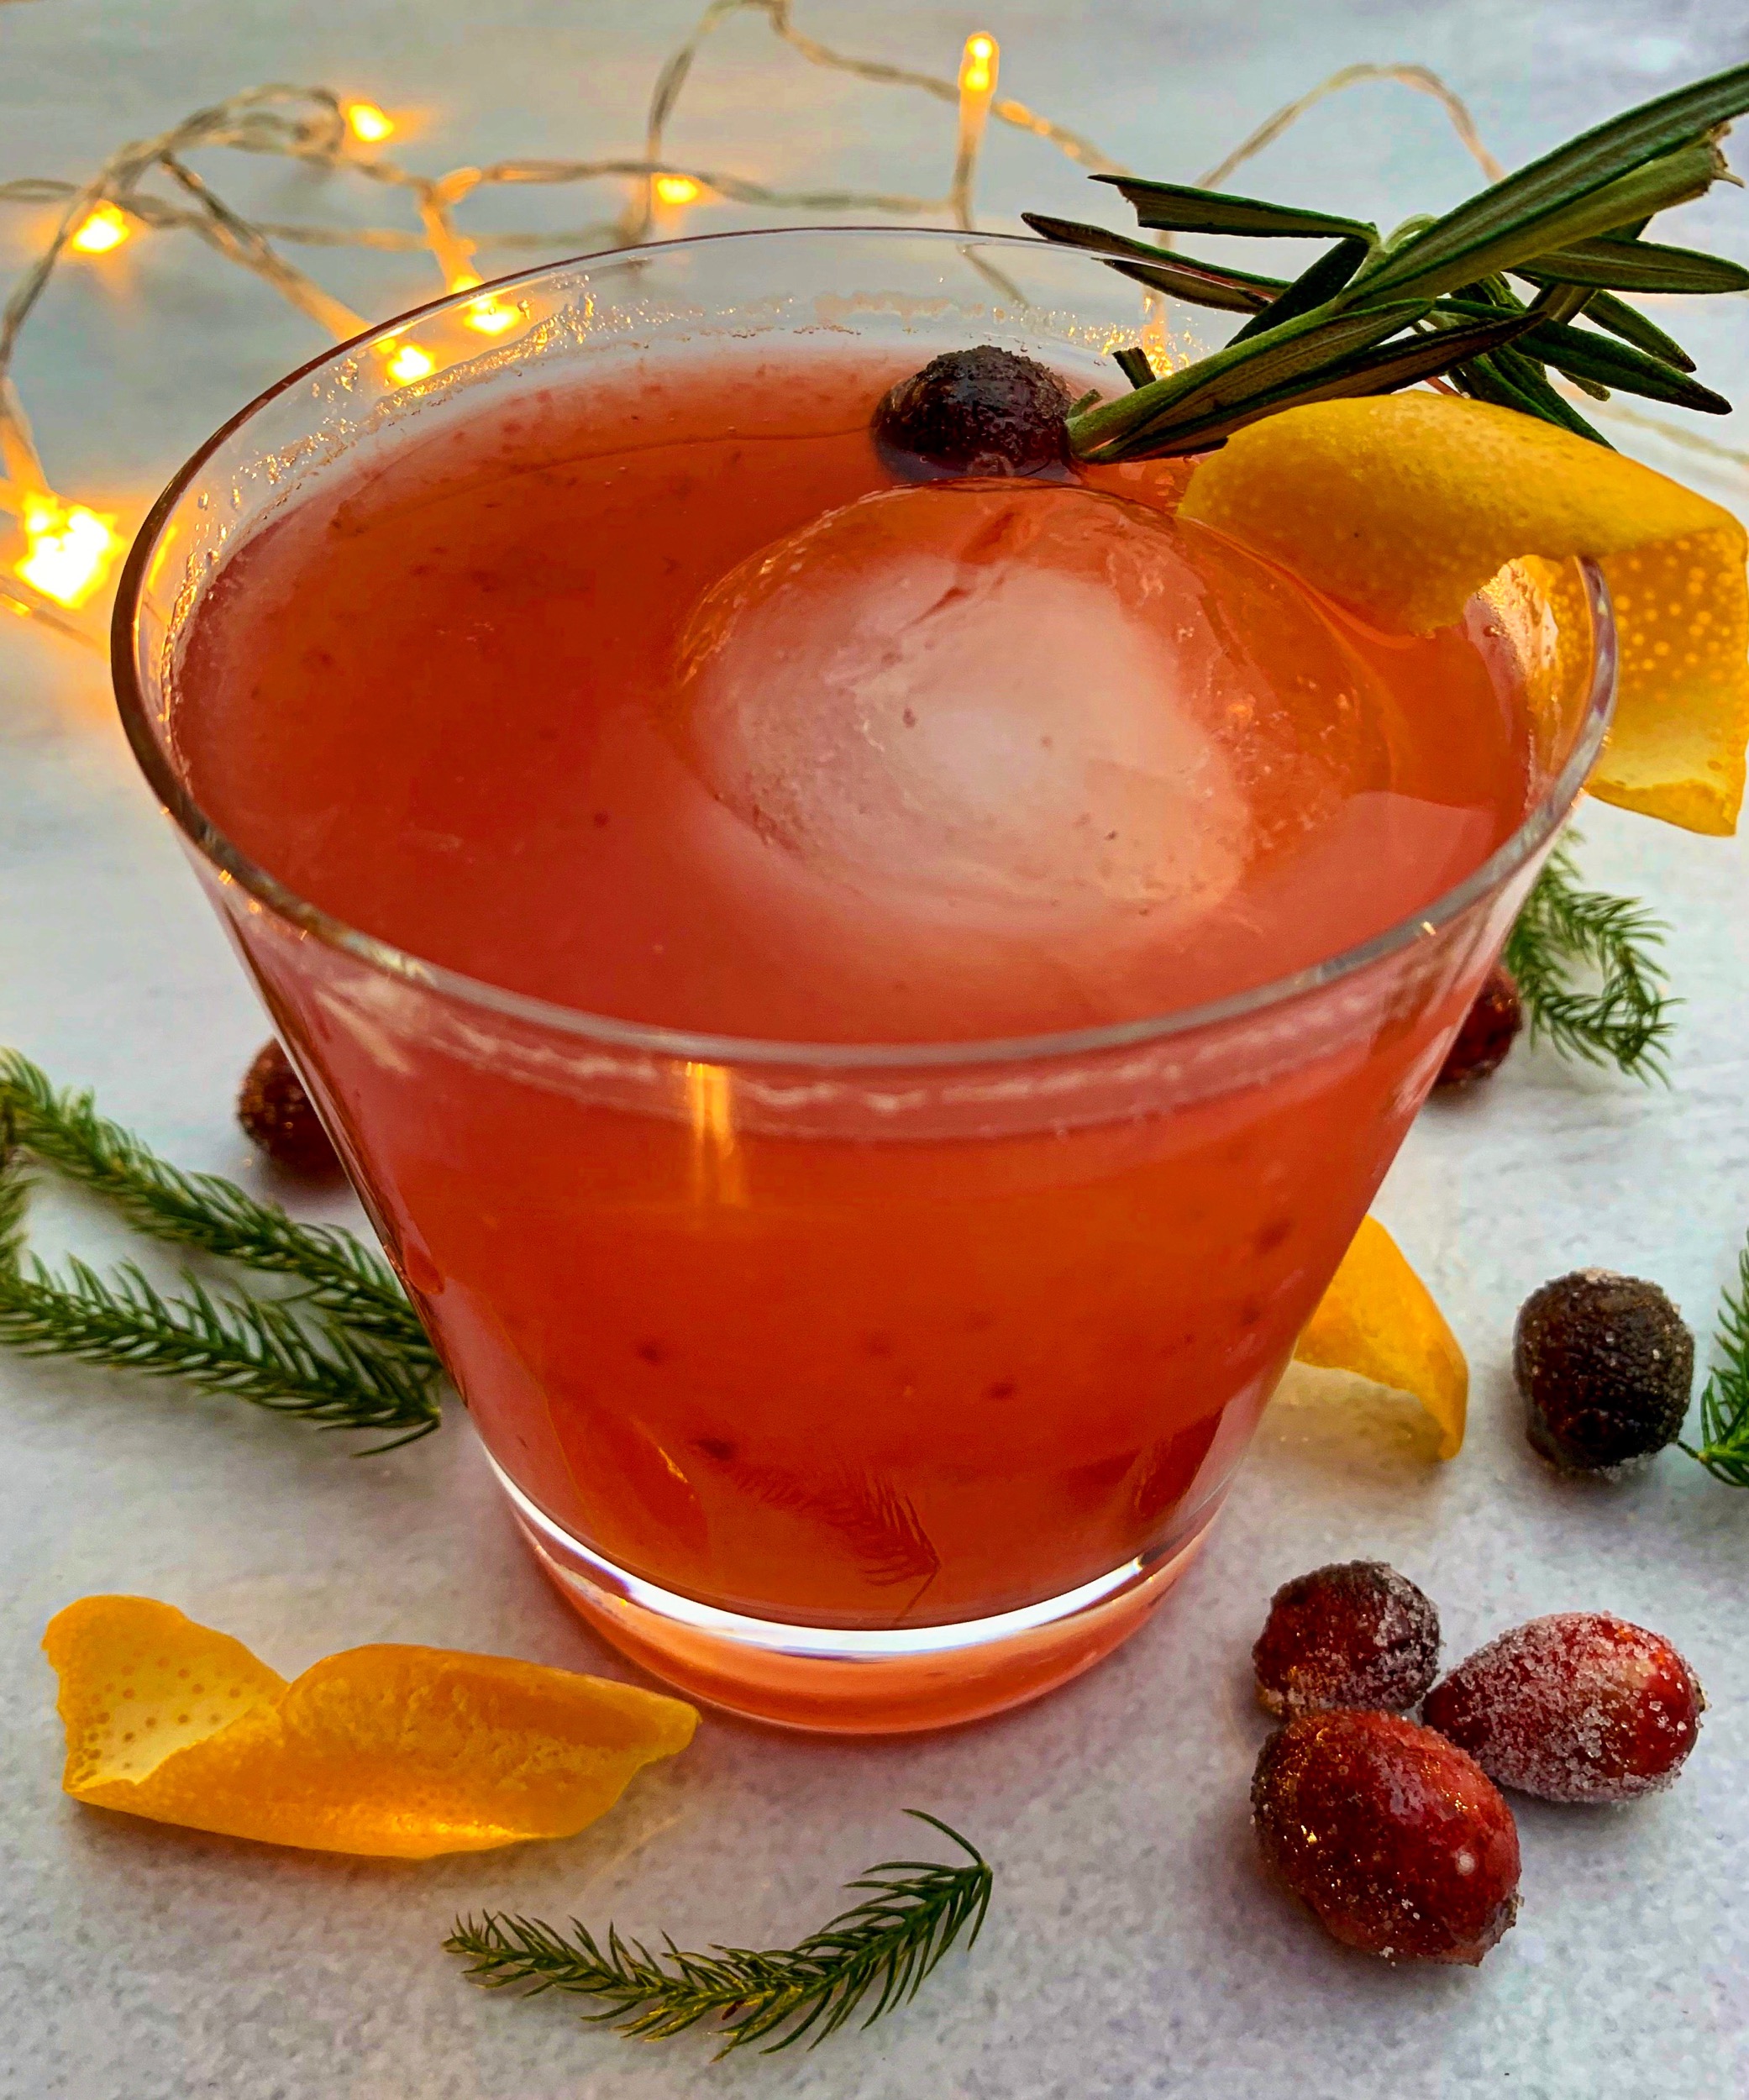
- 45-degree angle: Best for capturing both side view and top view of the subject, such as drinks
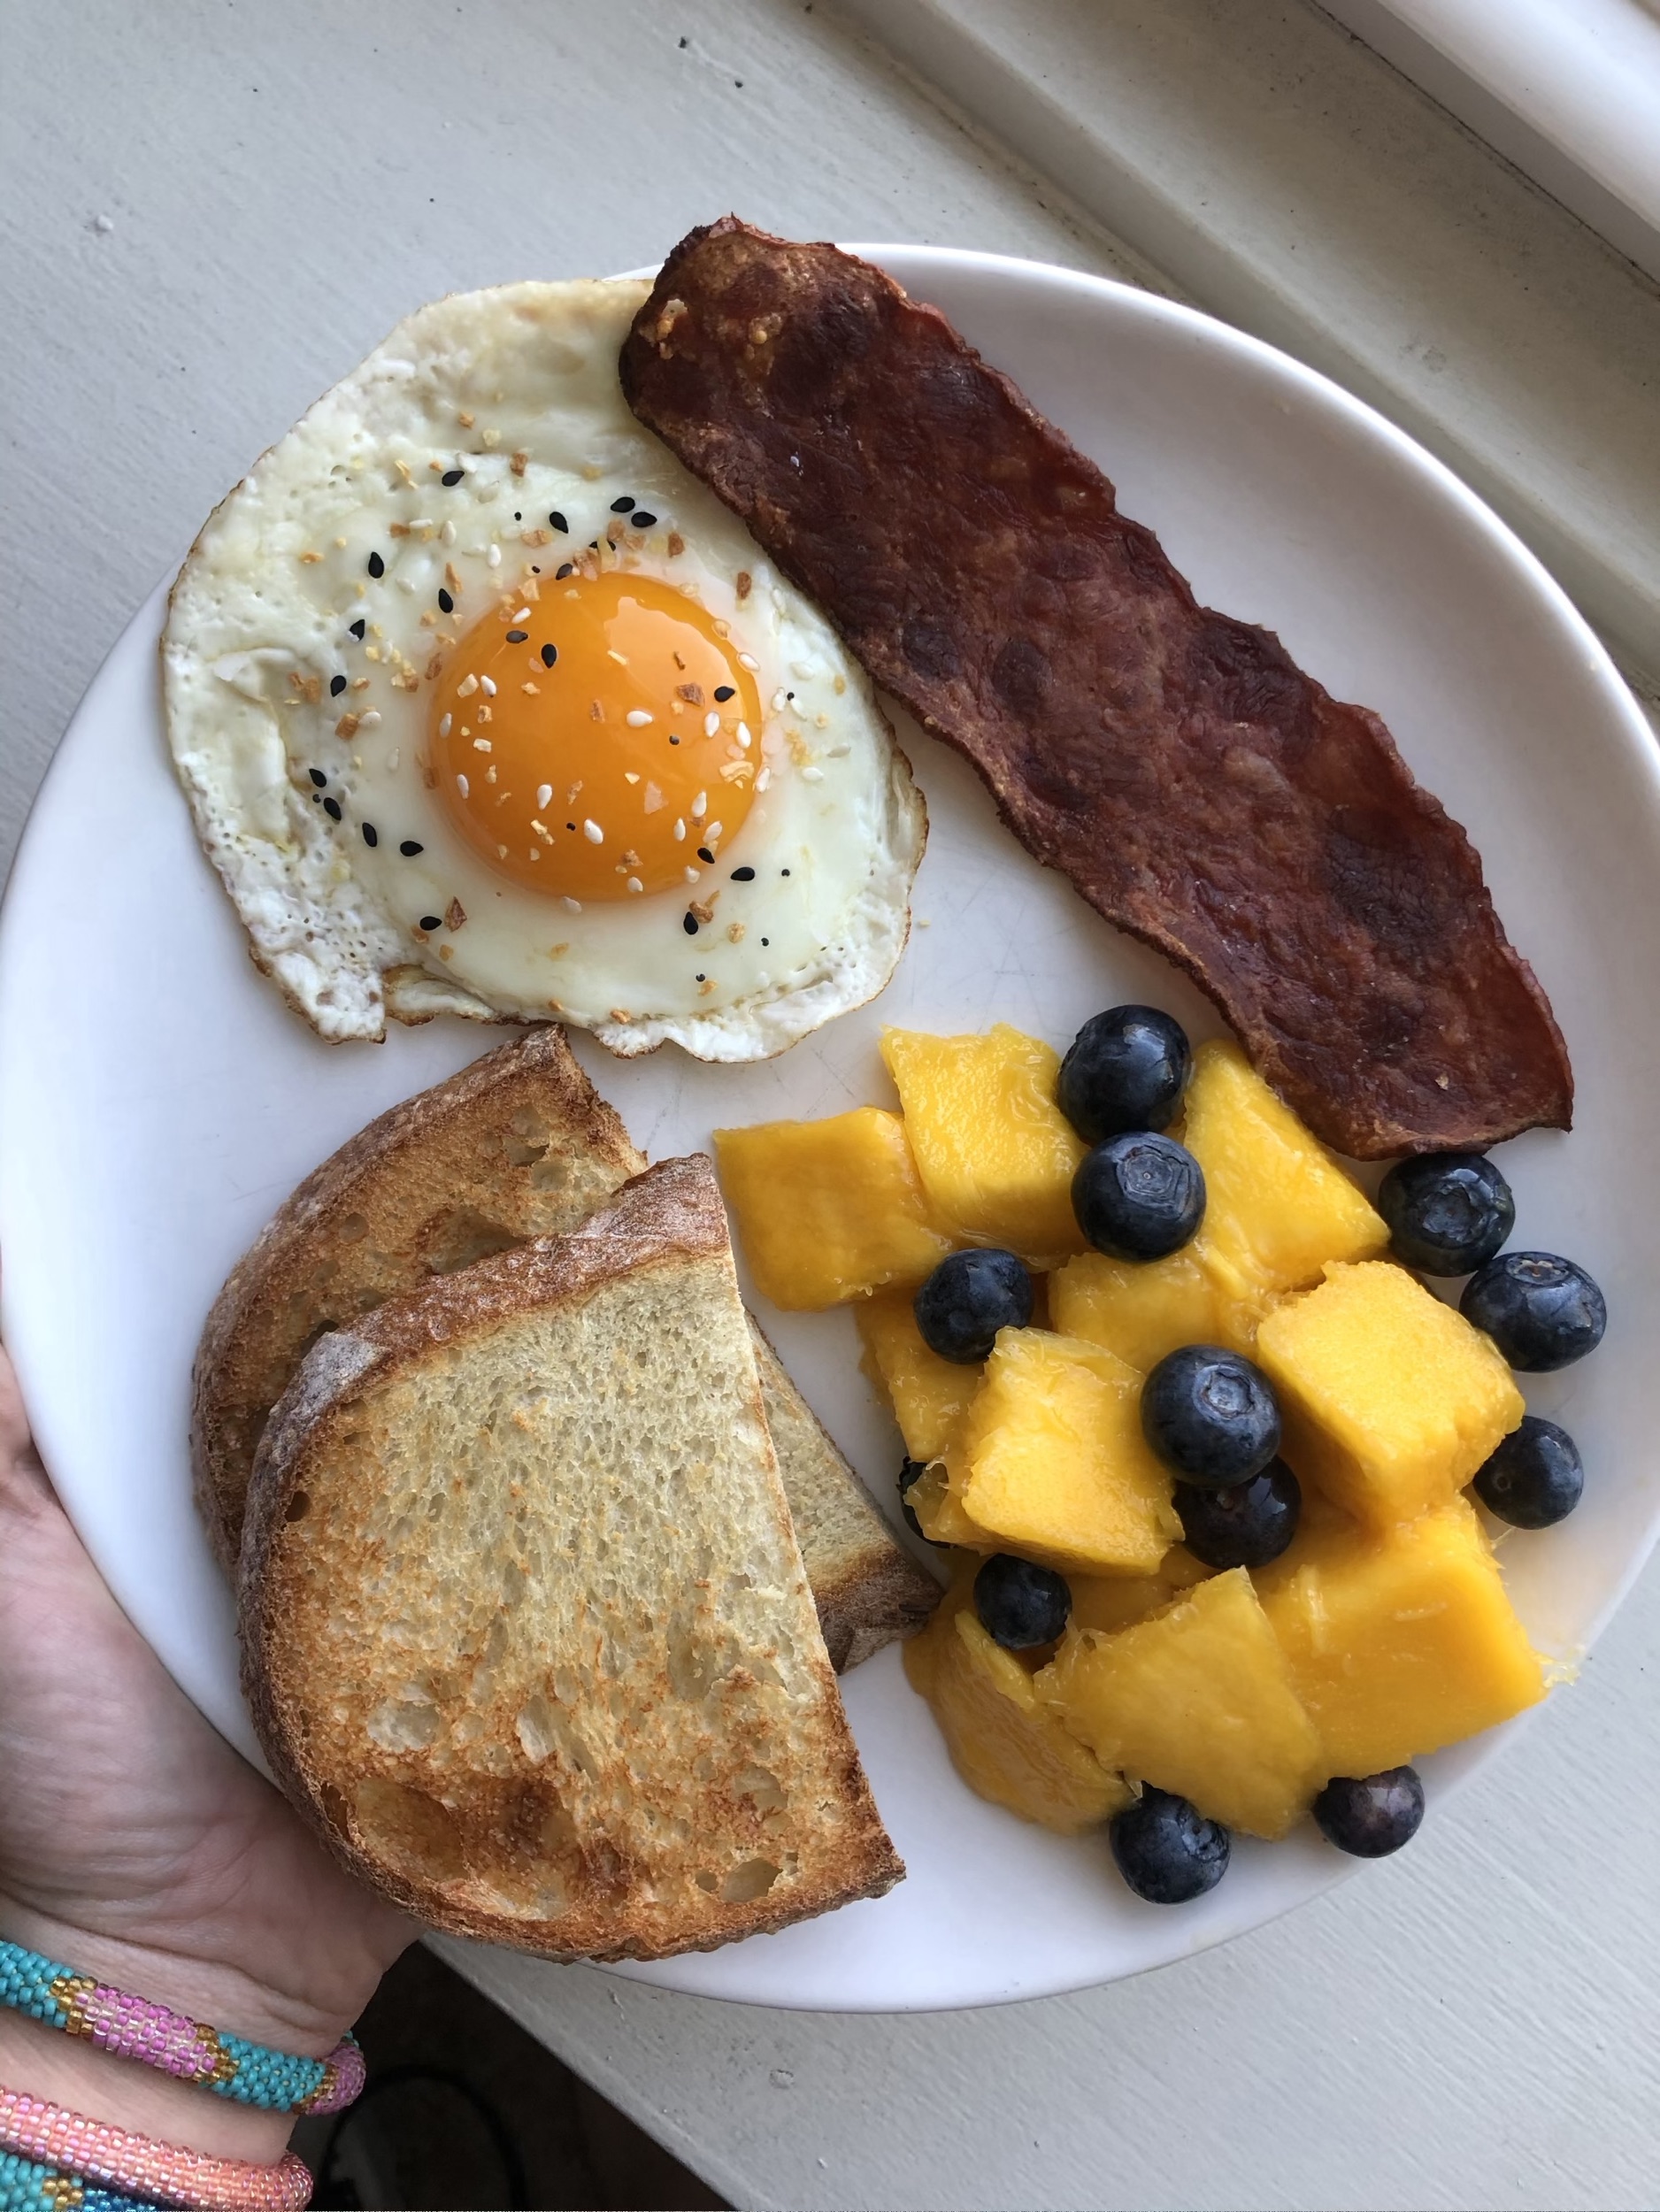
- Straight ahead: Best for capturing height and layers, like a cake or pancake stacks
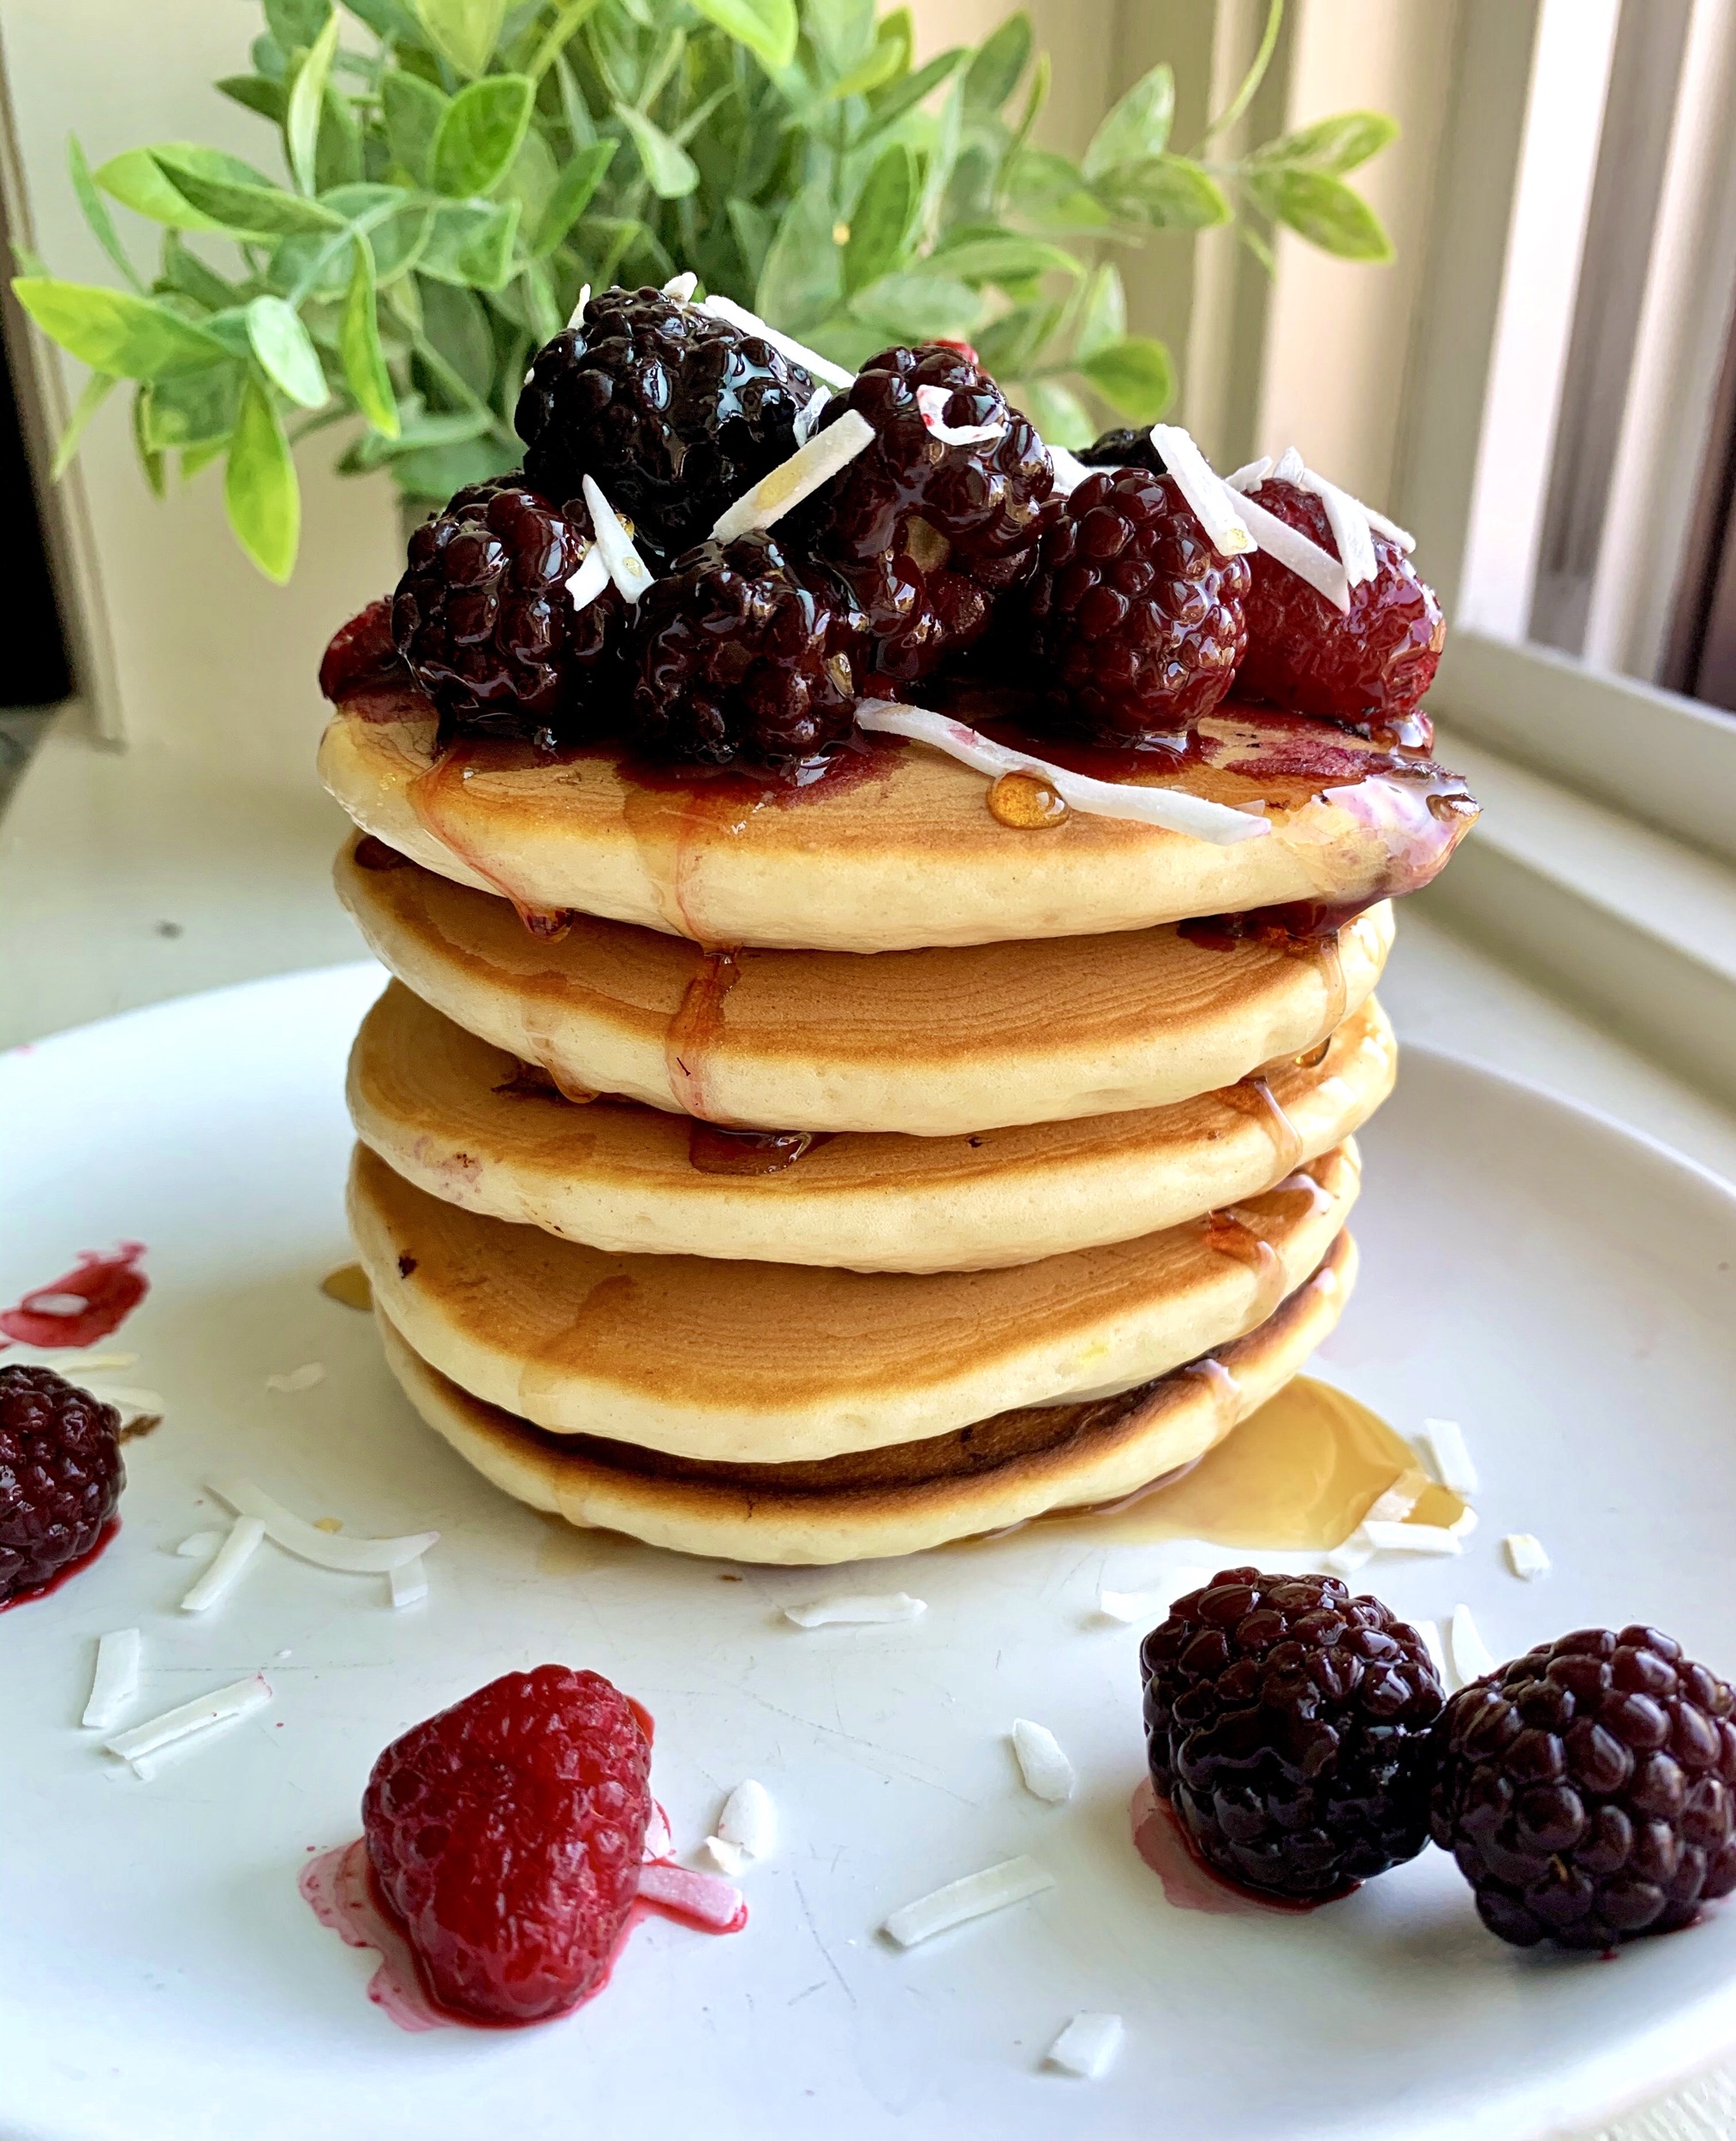
Straight ahead shot vs directly above shot vs 45 degree angle shot
- Plate food with purpose. Arrange food based on the angle you want to capture it and in a way that makes it enticing to the audience.
- Clean up any spills and splatters made from plating.
- Garnishes are finishing touches added to a dish. In terms of photography, it is an opportunity to add extra color and interest to food. However, too much garnish can cover up the food you are trying to showcase. Popular garnishes include fresh herbs, grated cheese, lime or lemon wedges, nuts or seeds, everything bagel seasoning, sauce or drizzle, a hand holding a bowl or glass, etc.
- Props are items that can be added to balance composition and to add interest around the subject. Popular props include kitchen towels, small bowls of ingredients that are in the dish, utensils such as forks, serving spoons or chopsticks and greenery.
Editing
Editing is probably my favorite part of the process. I edit every single photo I post on my Instagram feed and I’m sure all other food bloggers do as well! However, I edit all my pictures directly on my phone. There are so many amazing editing apps nowadays, there is no need to export your photos to your computer to edit or pay for fancy software.
- Find your editing style. See what type of ‘look’ you like best and stick with it. For me, its bright colors that make the food POP.
- Natural light photos require different editing than artificial light photos. The best way to learn is to play around with different editing features and practice editing photos with differing light.
- Not all features in each app are created equal! Don’t be afraid to use multiple editing apps to get the end result you desire.
- Editing can do wonders for a photo; but it is still important to have a quality shot to work with!
Photo Editing Apps:
- Snapseed: Great for all purpose editing and it is FREE
- Lightroom: Another all purpose editing app. There is a free option with a fair amount of tools available and a premium subscription plan for $4.99/month. I use the free version.
- VSCO: Great if you want to use filters. There is a free option with a limited number of filters or a subscription plan with 130+ filters for $19.99/year. I have the subscription plan.
- Afterlight 2: Basic and advanced editing tools for $2.99.
- Phone camera editing features: there are great editing tools right in the camera app on iPhones (and I am sure on Andriods as well). This is where I make finishing touches and crop my photo.
The best features for editing food photos:
- White Balance: This is my best friend. It can help eliminate that orangey tint caused by artificial light. Use a white plate or prop in the photo as a guide to help you adjust the white balance.
- Contrast: Adds tones that create depth and texture.
- Highlights: Adjusts the brightest spots in the picture.
- Exposure: Adjusts overall light in the photo. This feature comes in handy if you are shooting at dusk or on a very gloomy day when the overall light is low.
- Brilliance: Adds beautiful pop and brightness to the details of the photo. This feature can be found on iPhones in the camera’s editing tools.
- Ambiance: An amazing editing tool in Snapseed that adds life and color to photos.
- Saturation: Increases or decreases the color intensity.
- Vibrance: Very similar to saturation however, vibrance can saturate muted colors without over saturating bright colors.
- Sharpening: Enhances the definition to show details and texture.
- Cropping: Allows you to cut out unwanted background, change the aspect ratio and balance the composition.
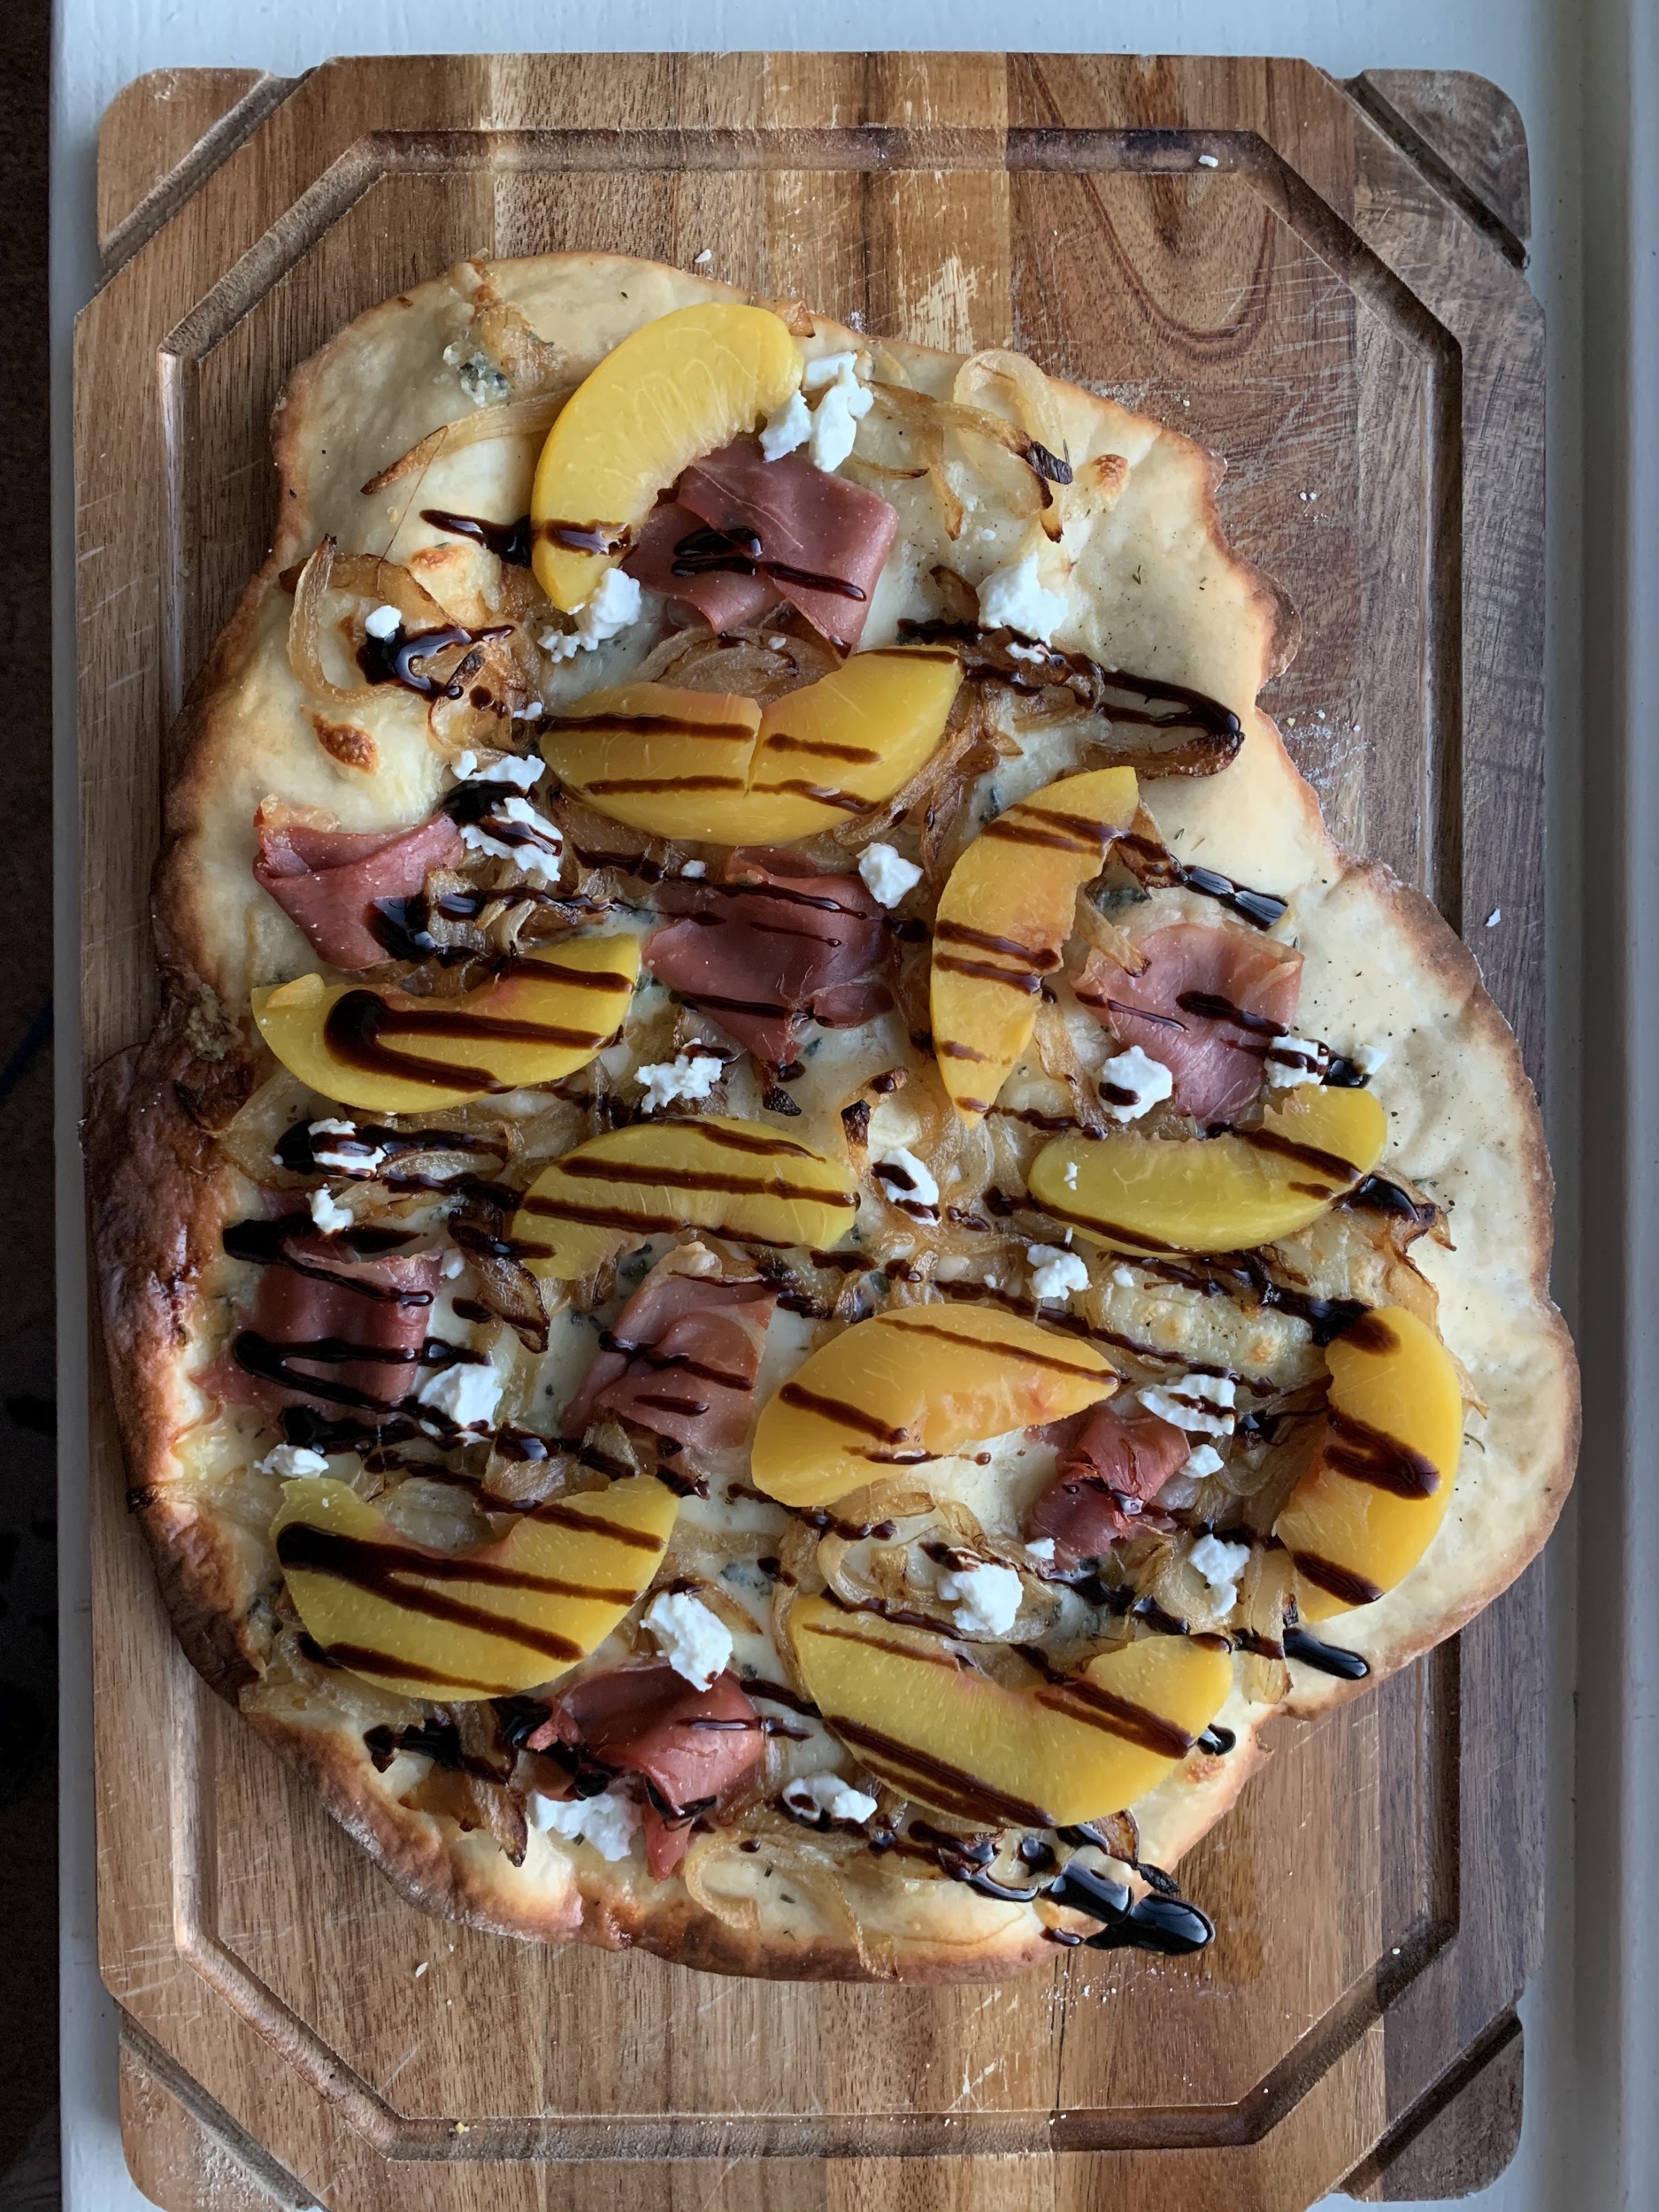
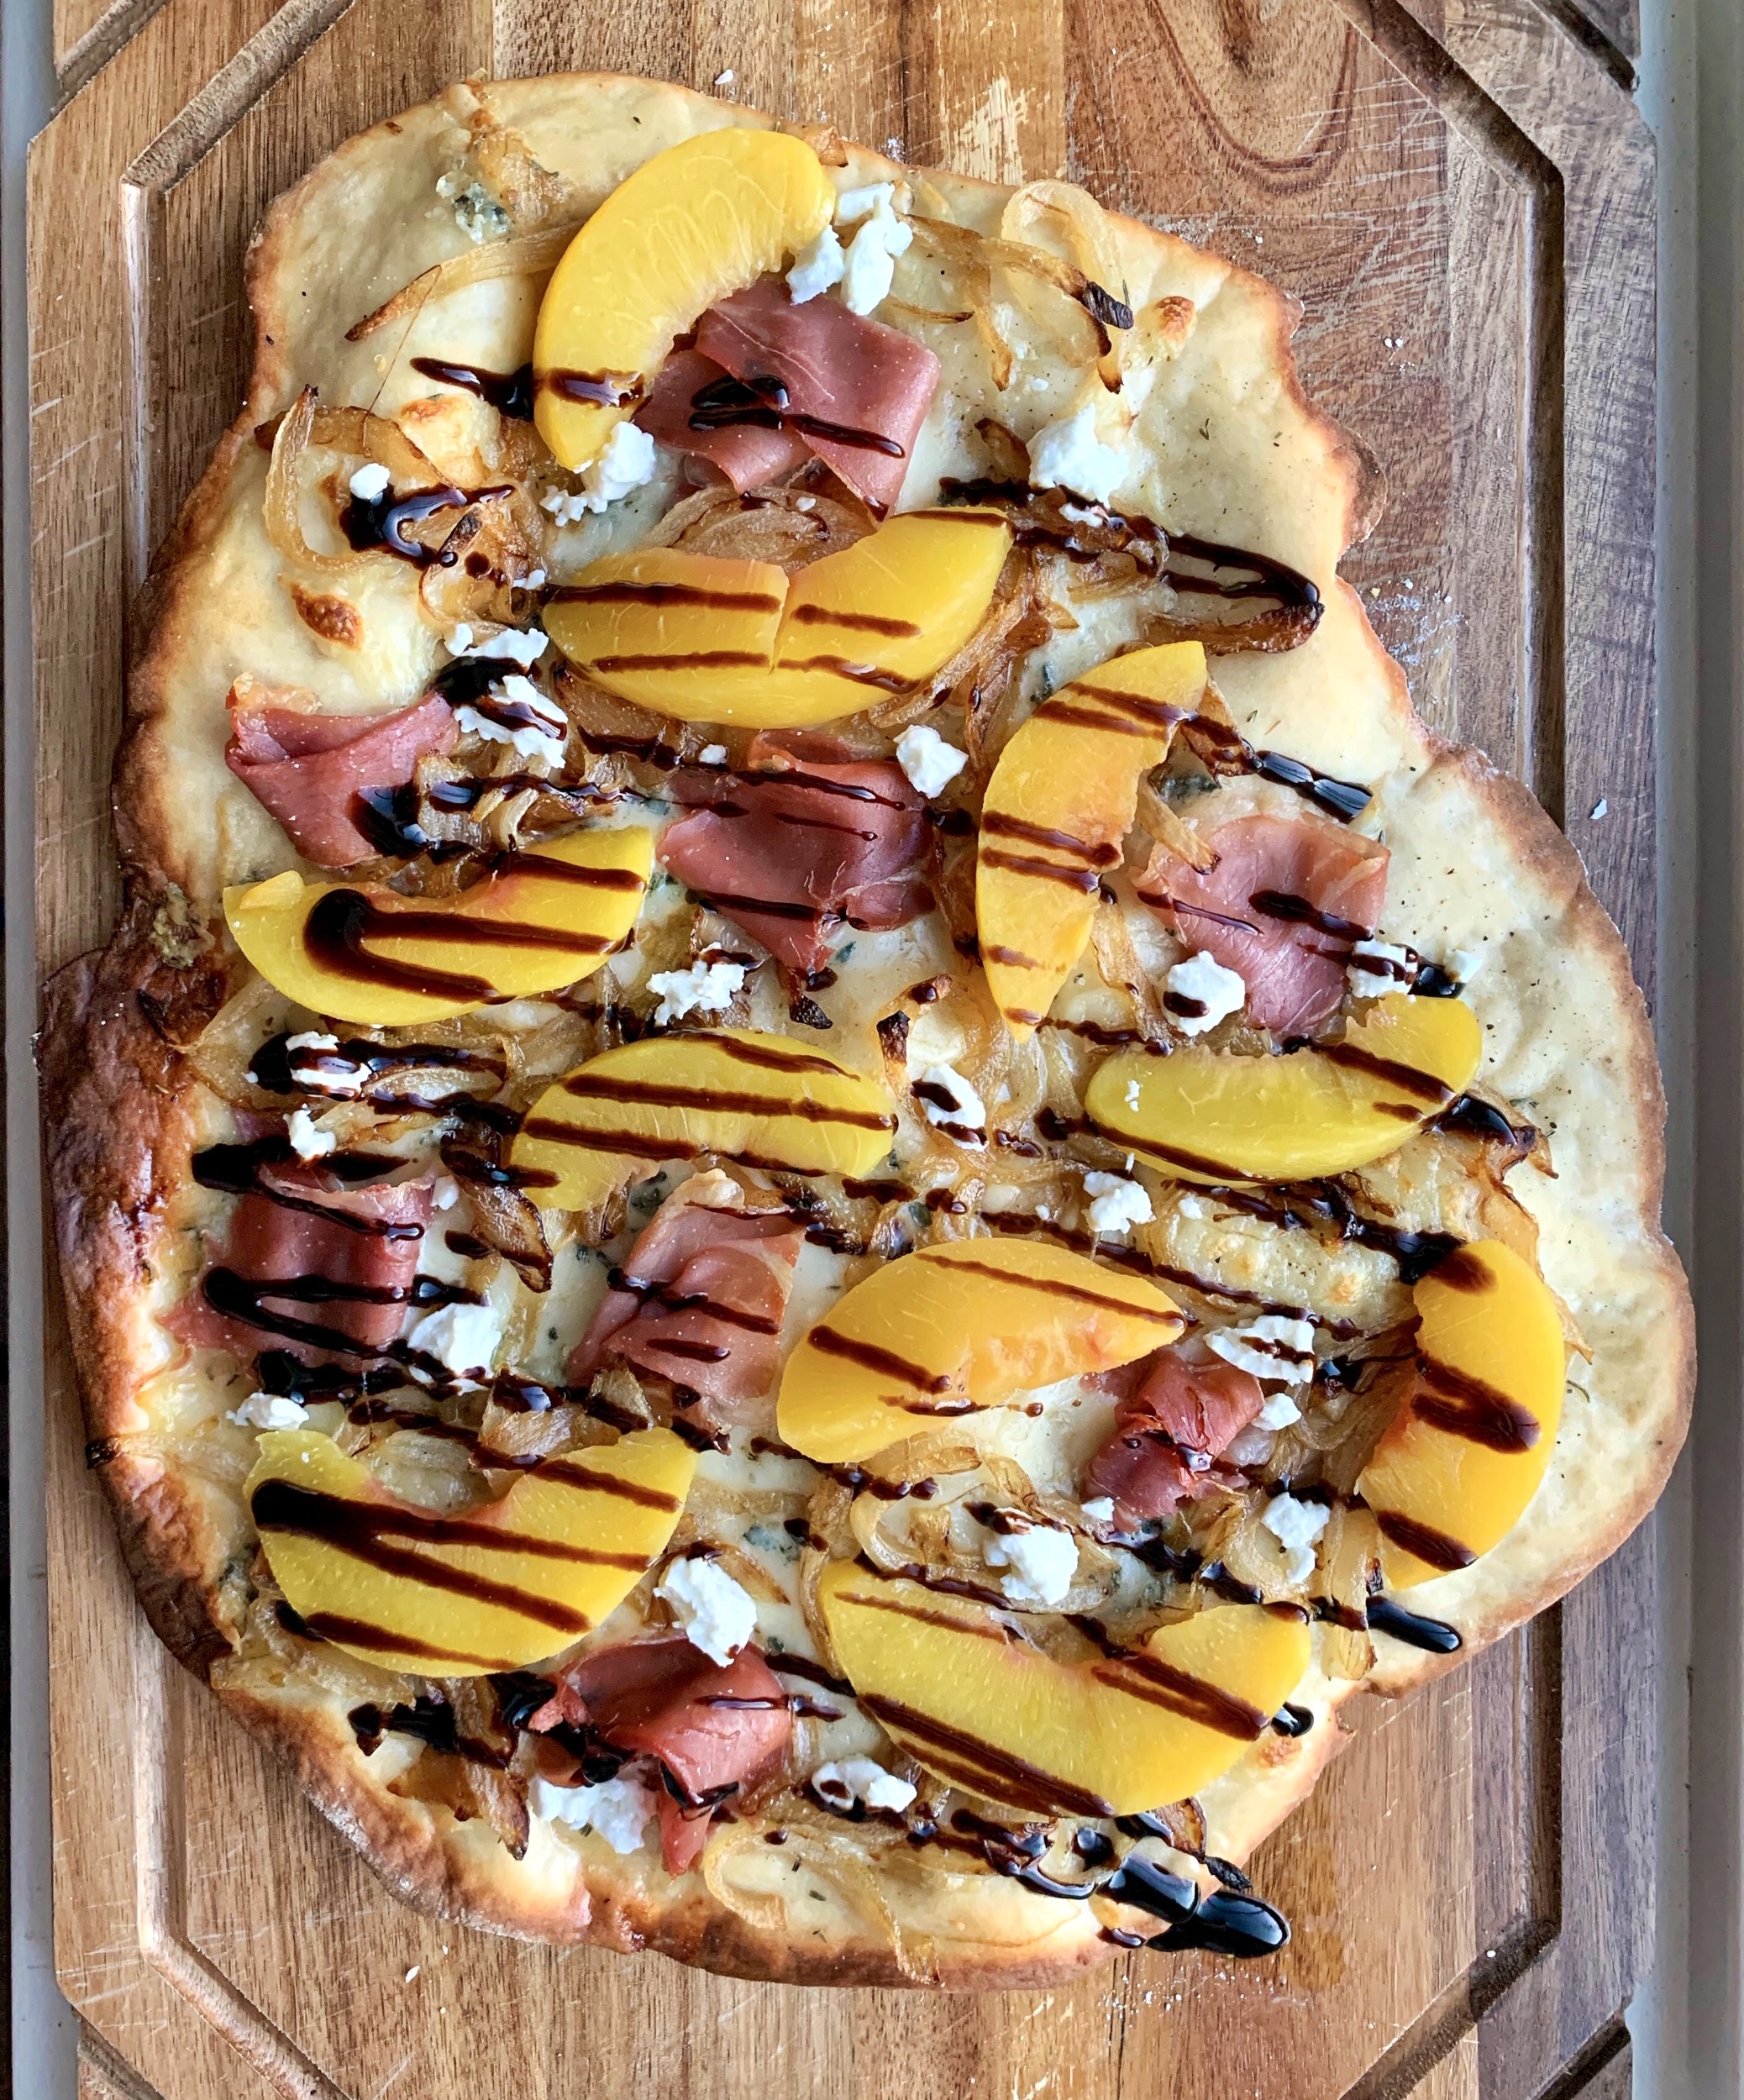
Unedited vs post processing
I hope you found this information helpful. If you have any questions, please feel free to leave them in the comments below. Please let me know if you would like a post on a step by step tutorial on how I specifically like to edit my photos!